I took a second look at the light leak issue I’m having with my Mamiya 645 1000S. In my last post, I mentioned that I was going to have a CLA (Clean, Lube & Adjustment) done on the camera. After inspecting the camera again, I thought I might try removing what was left of the old light seals and install new ones myself. I figure I can try this now and hope for the best and if necessary, I could then have the CLA done.
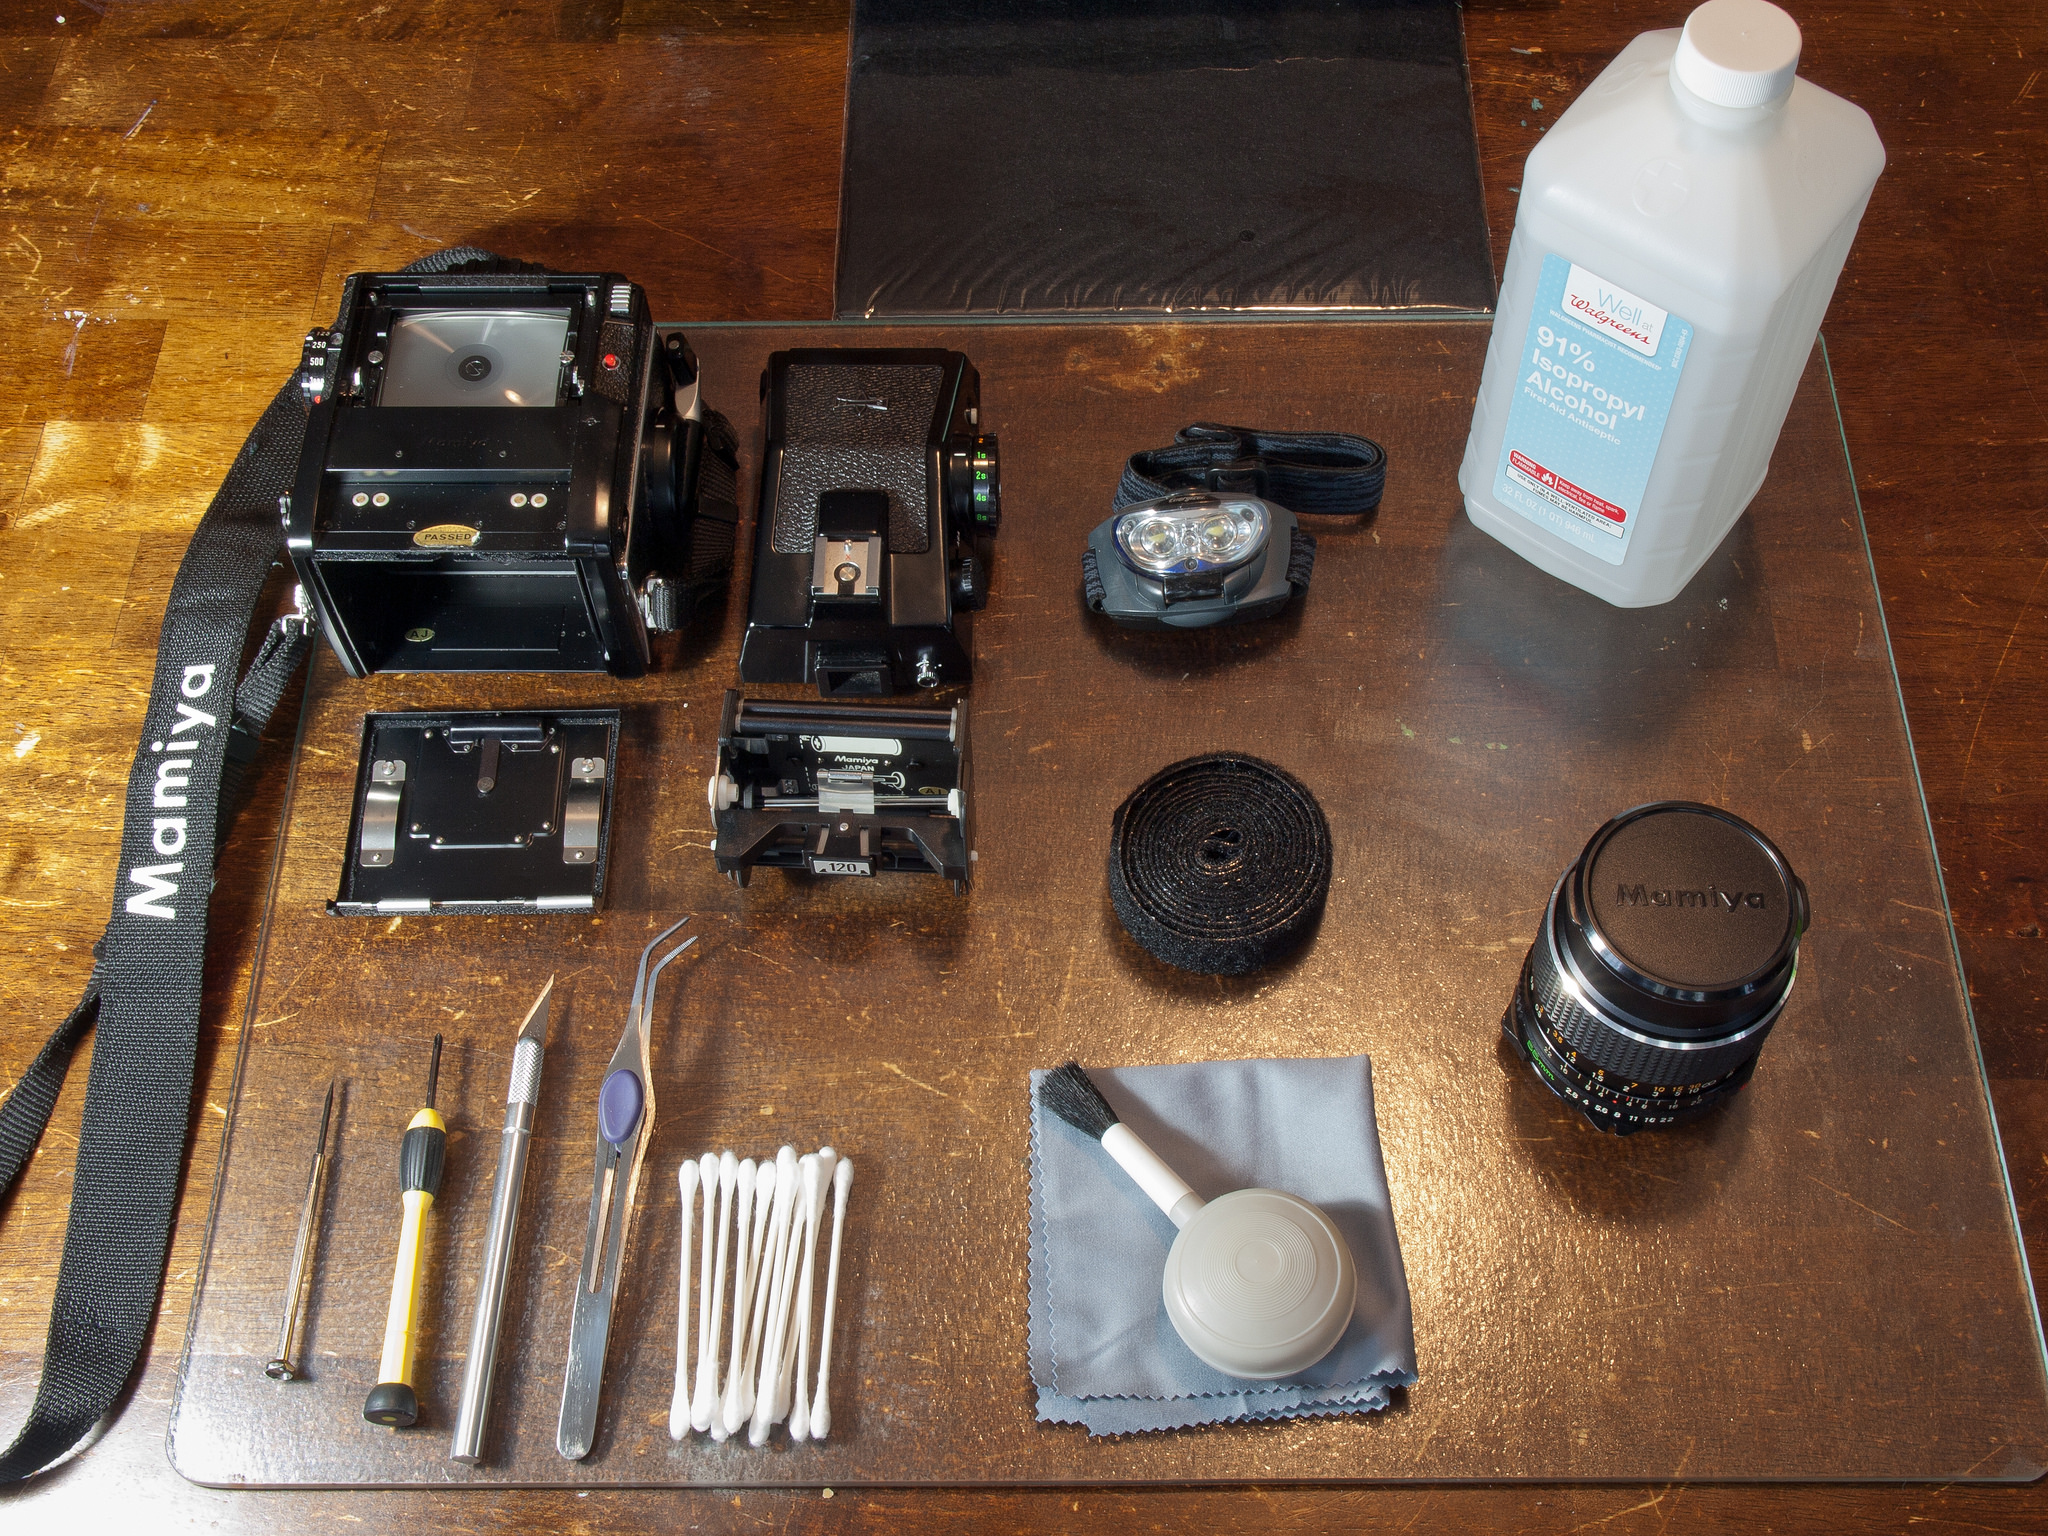
I gathered all the tools and materials I would need to do the job. The key decision I had to make was what type of material I would use for the seal. Would it be felt or foam, glue or adhesive? I don’t like the mess of glue so I searched for something with an adhesive back. The felt I found did not have the thickness I wanted and I could not find any foam with an adhesive back locally. The only thing that I could find that looked promising was a strip of Velcro, the soft side. It had an adhesive back and it had a thickness that would provide a good seal.
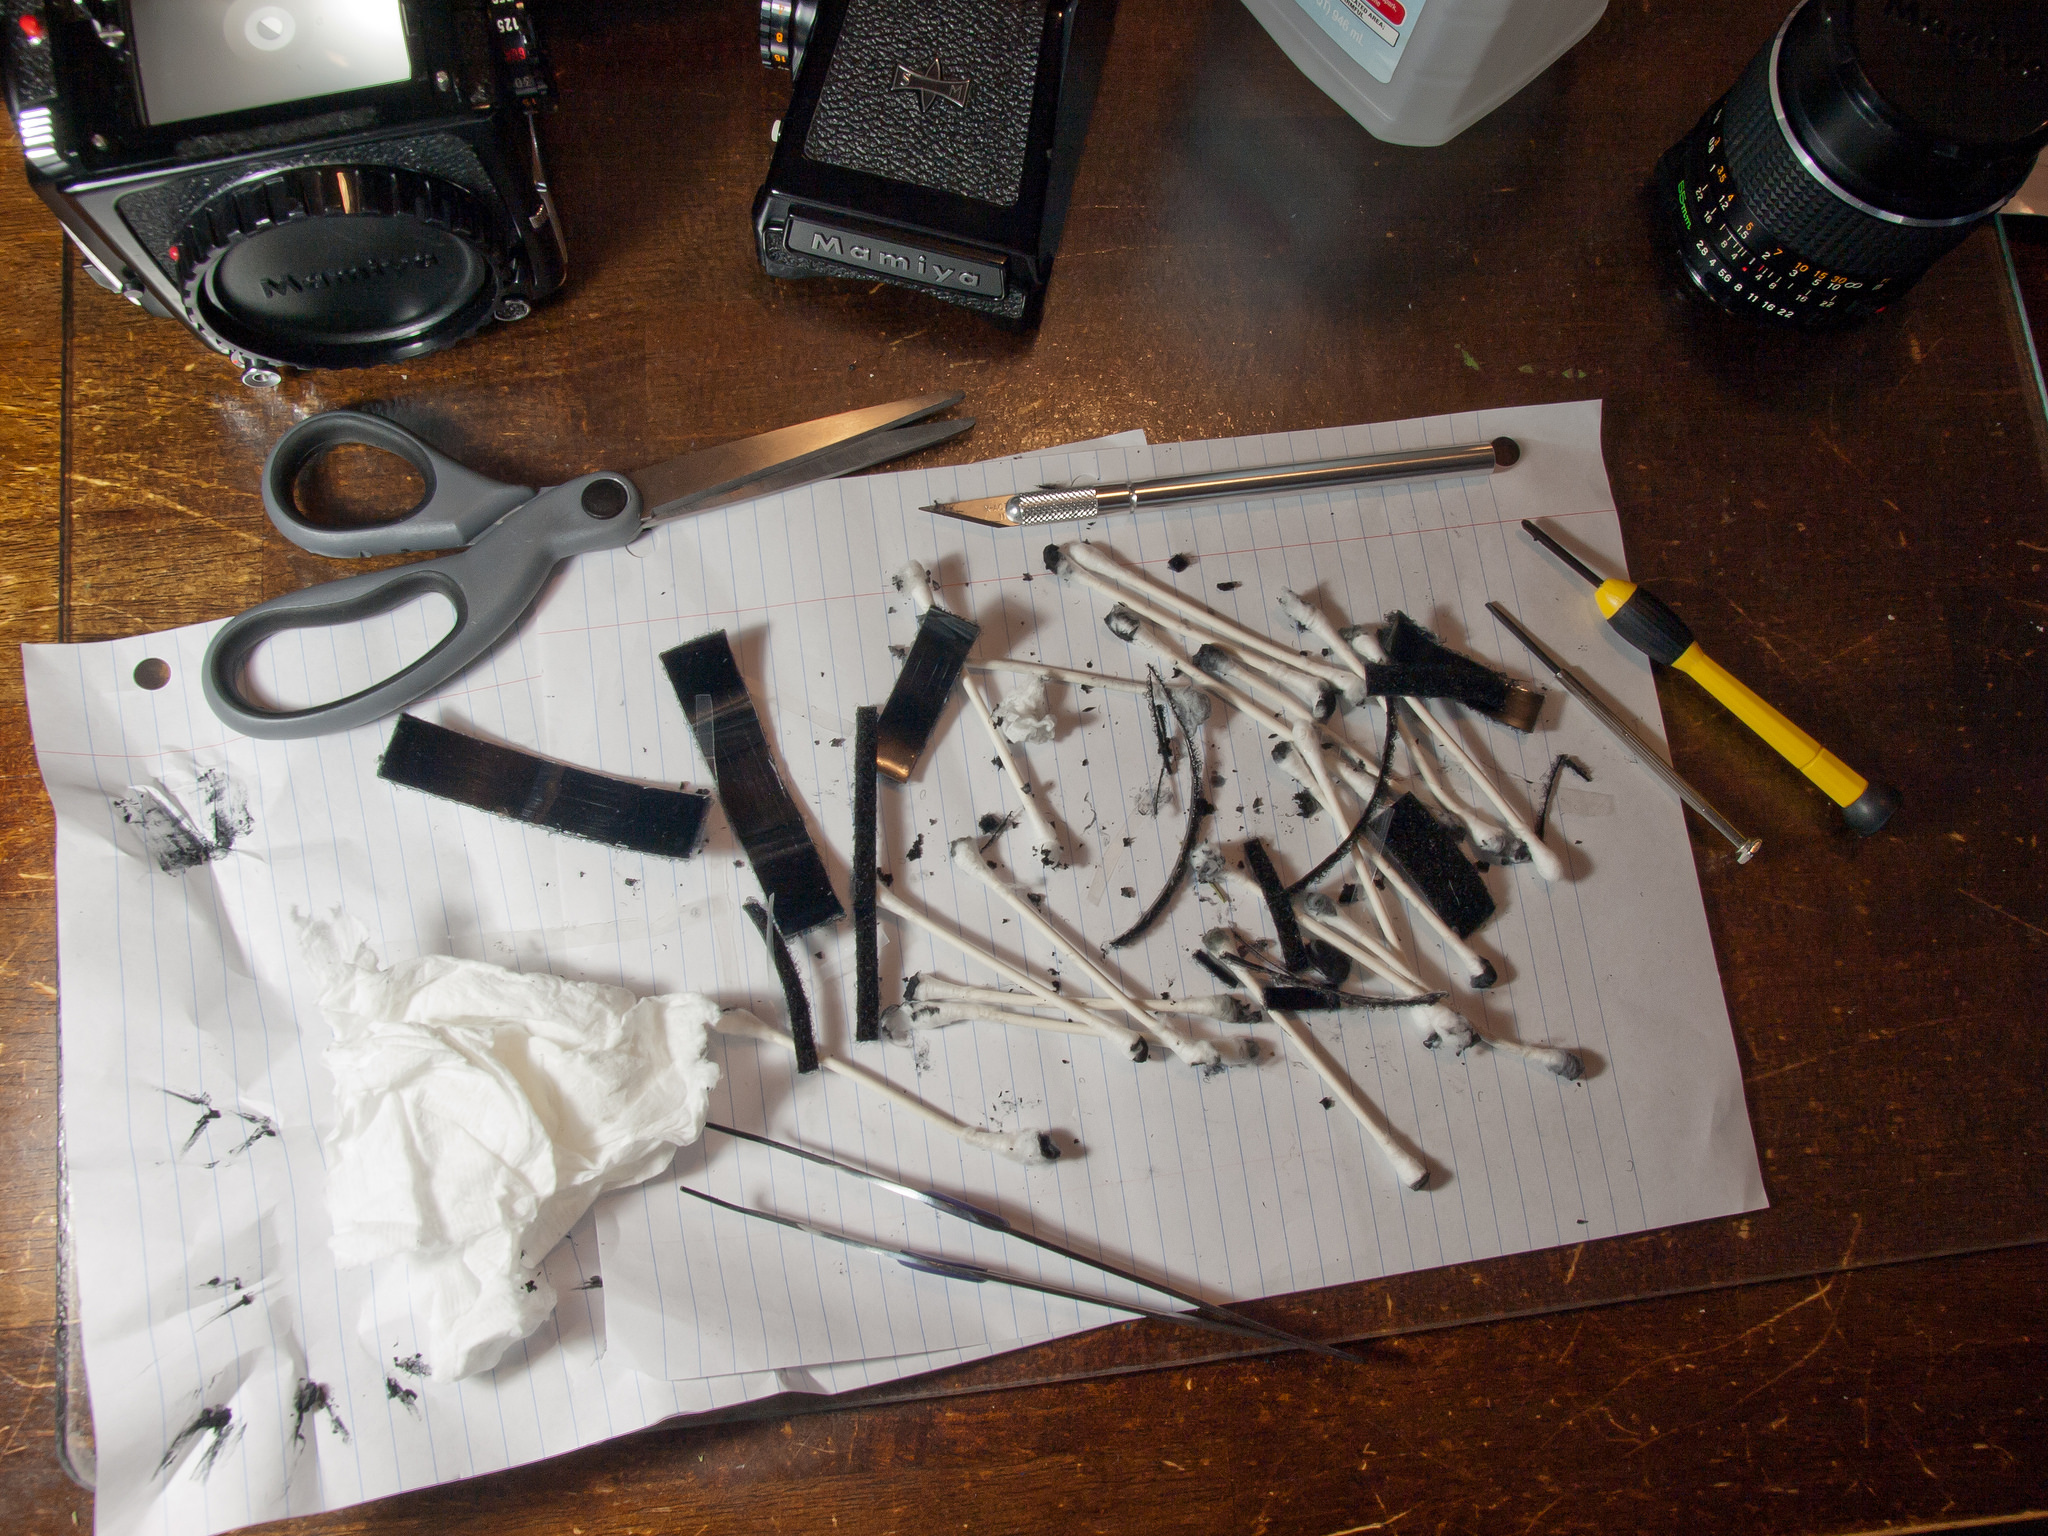
Operating Table
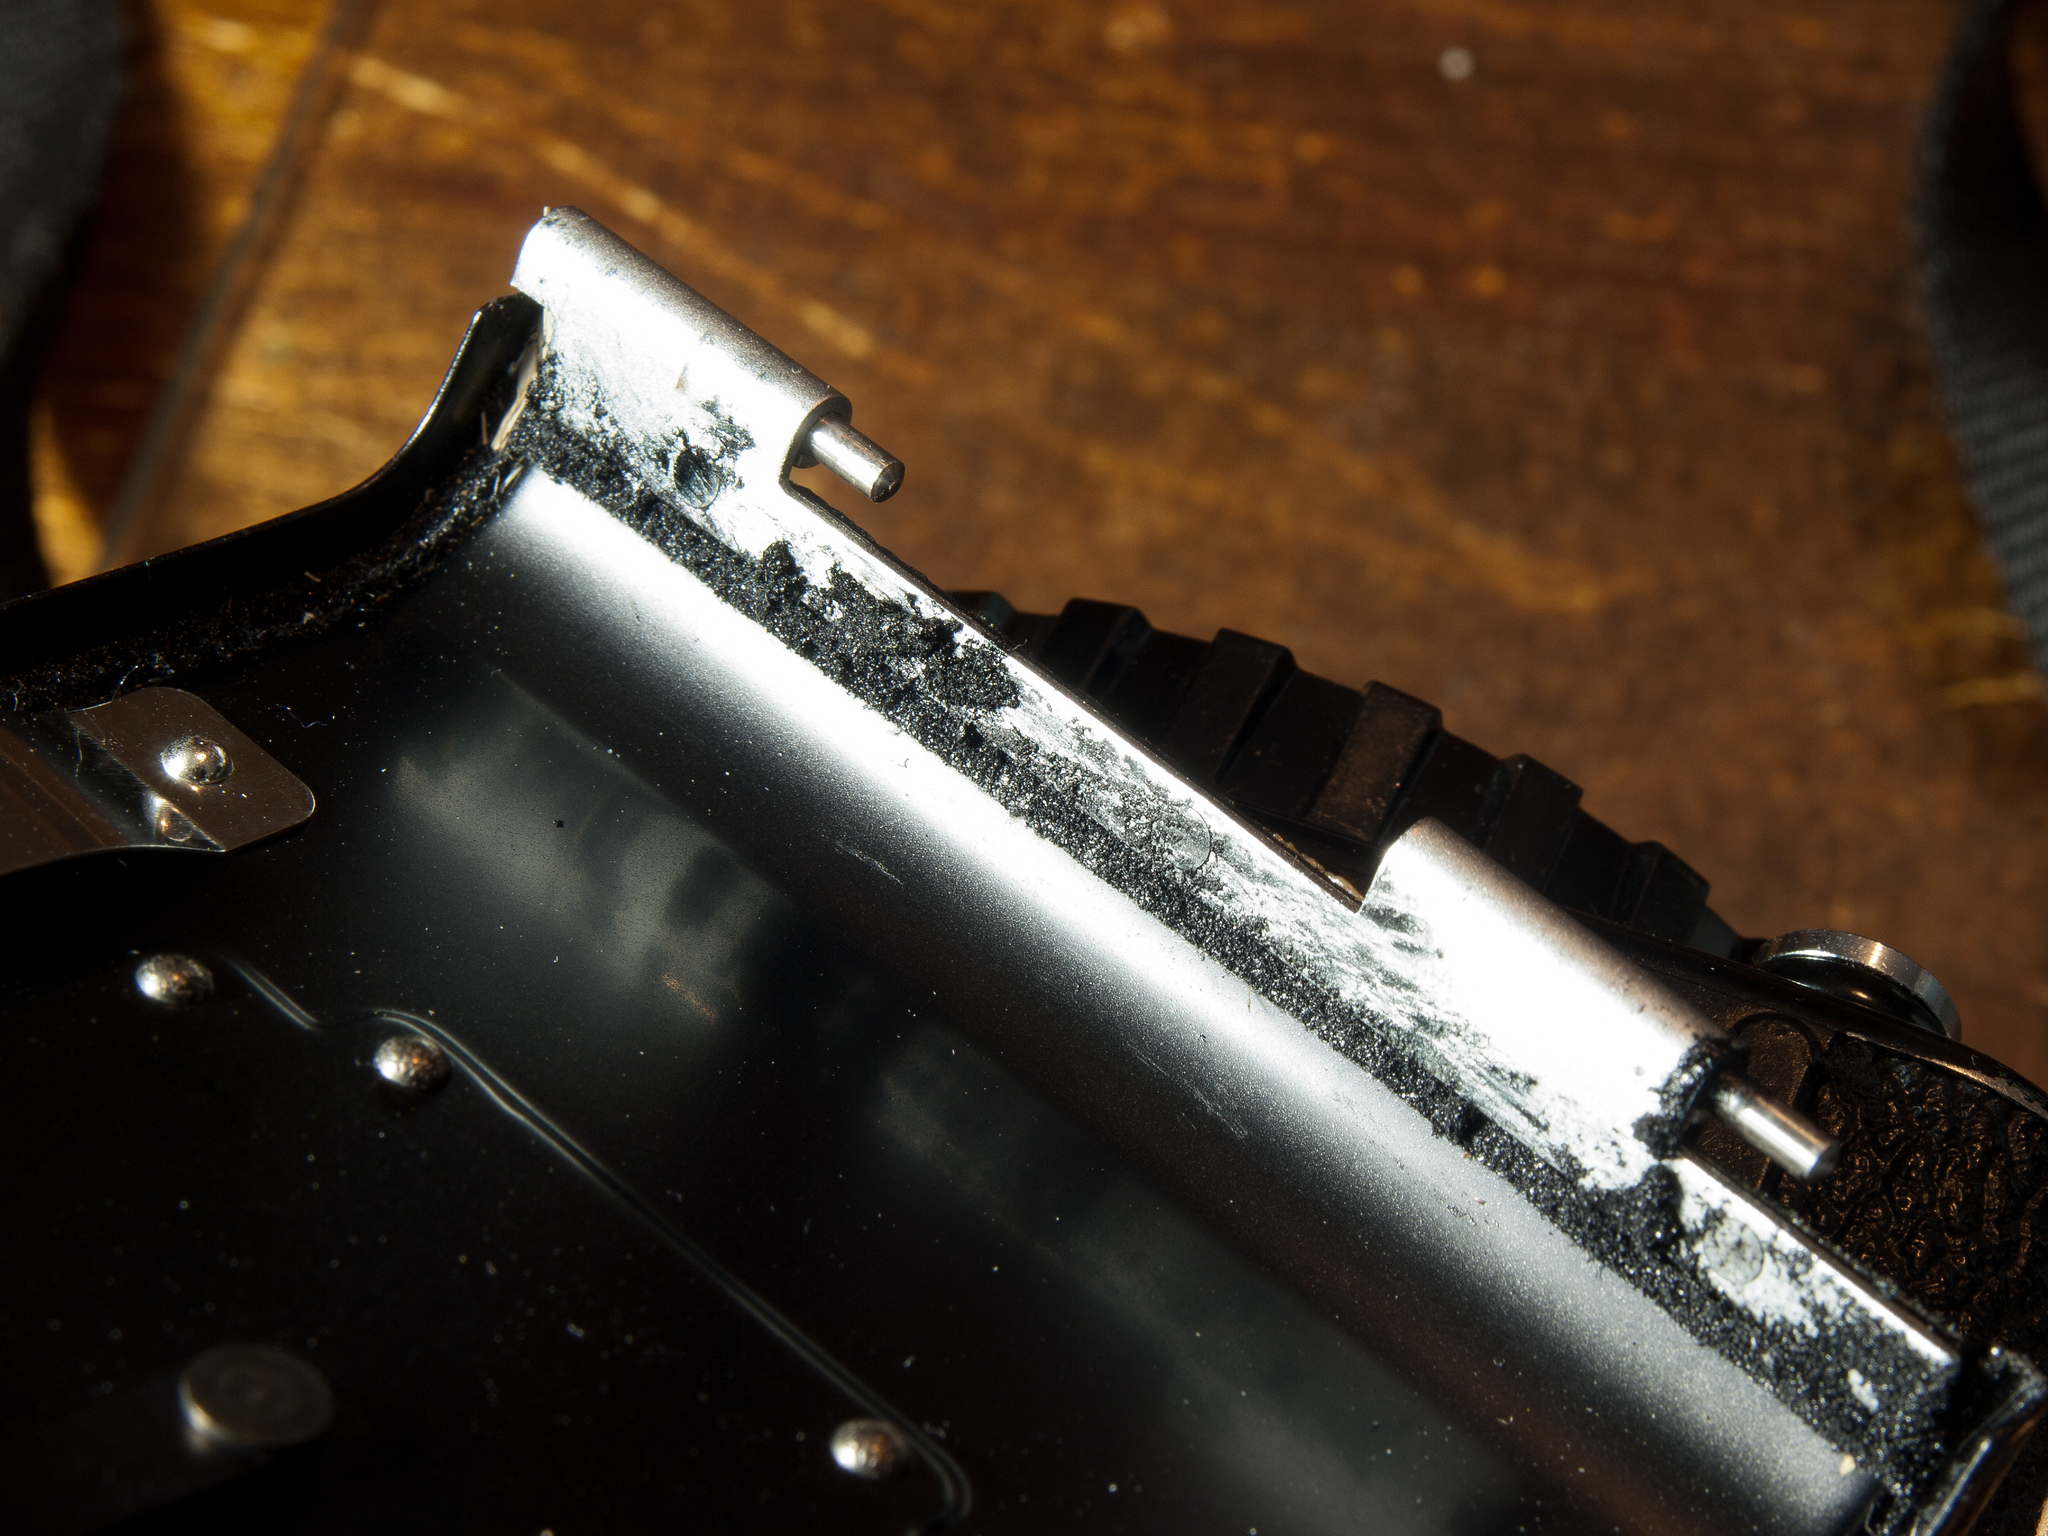
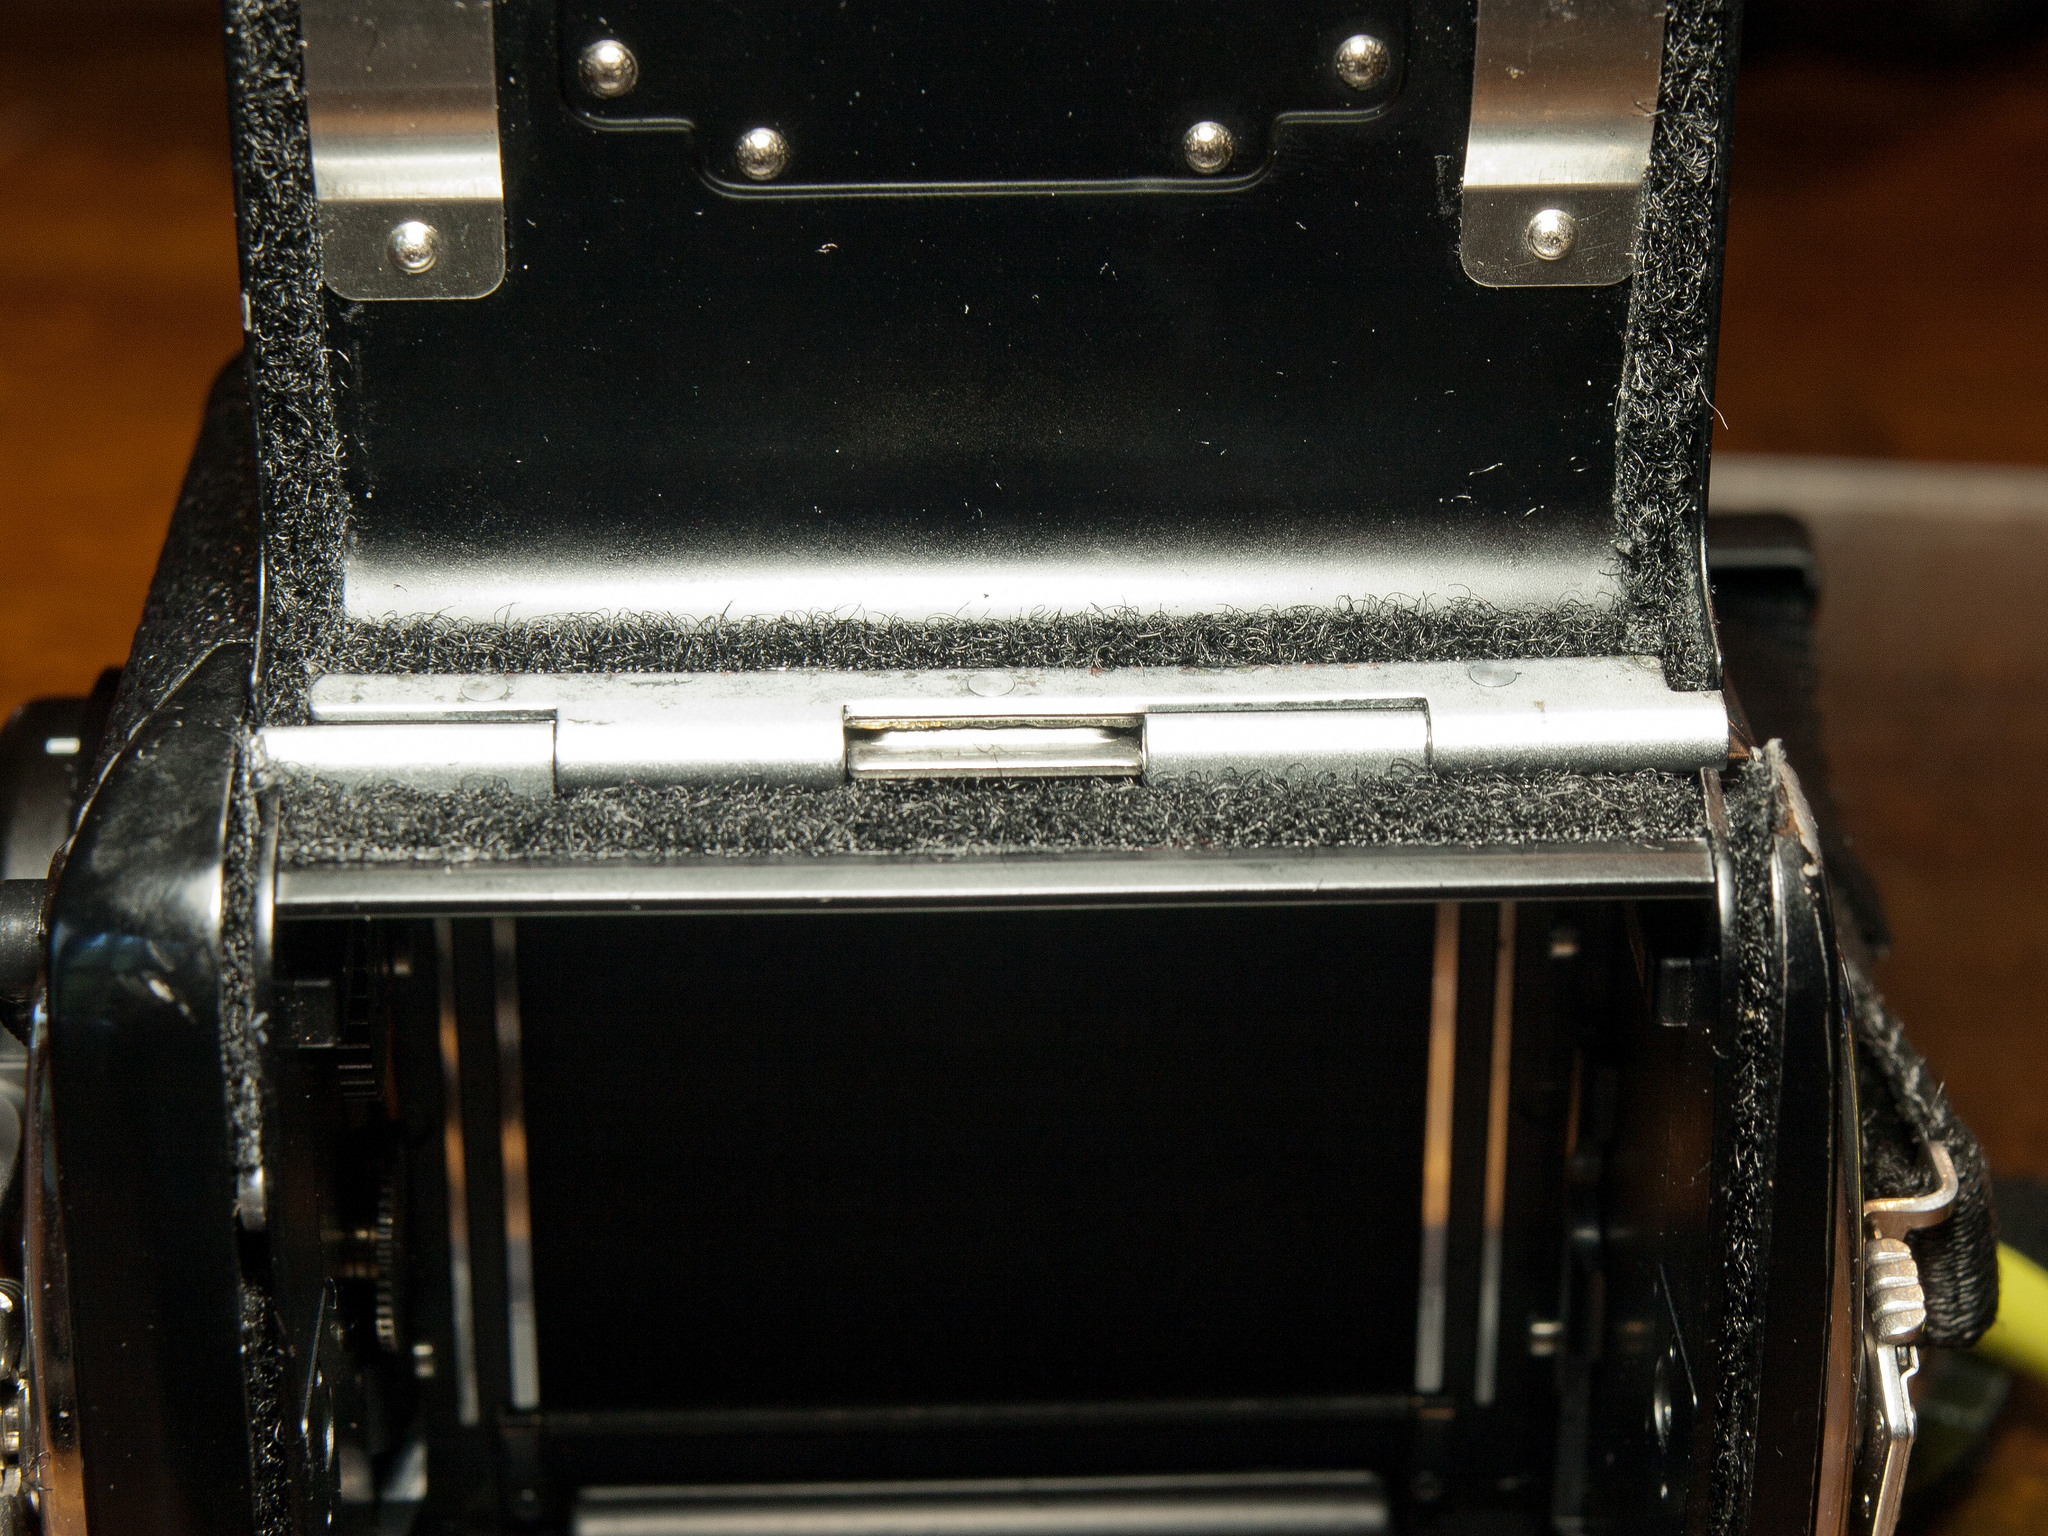
I started with the door. I used the rubbing alcohol to help remove the old seal and glue. After some scraping and cleaning with the q-tips, I was ready for the new seal strips.
Old Door Seal – Photo 1
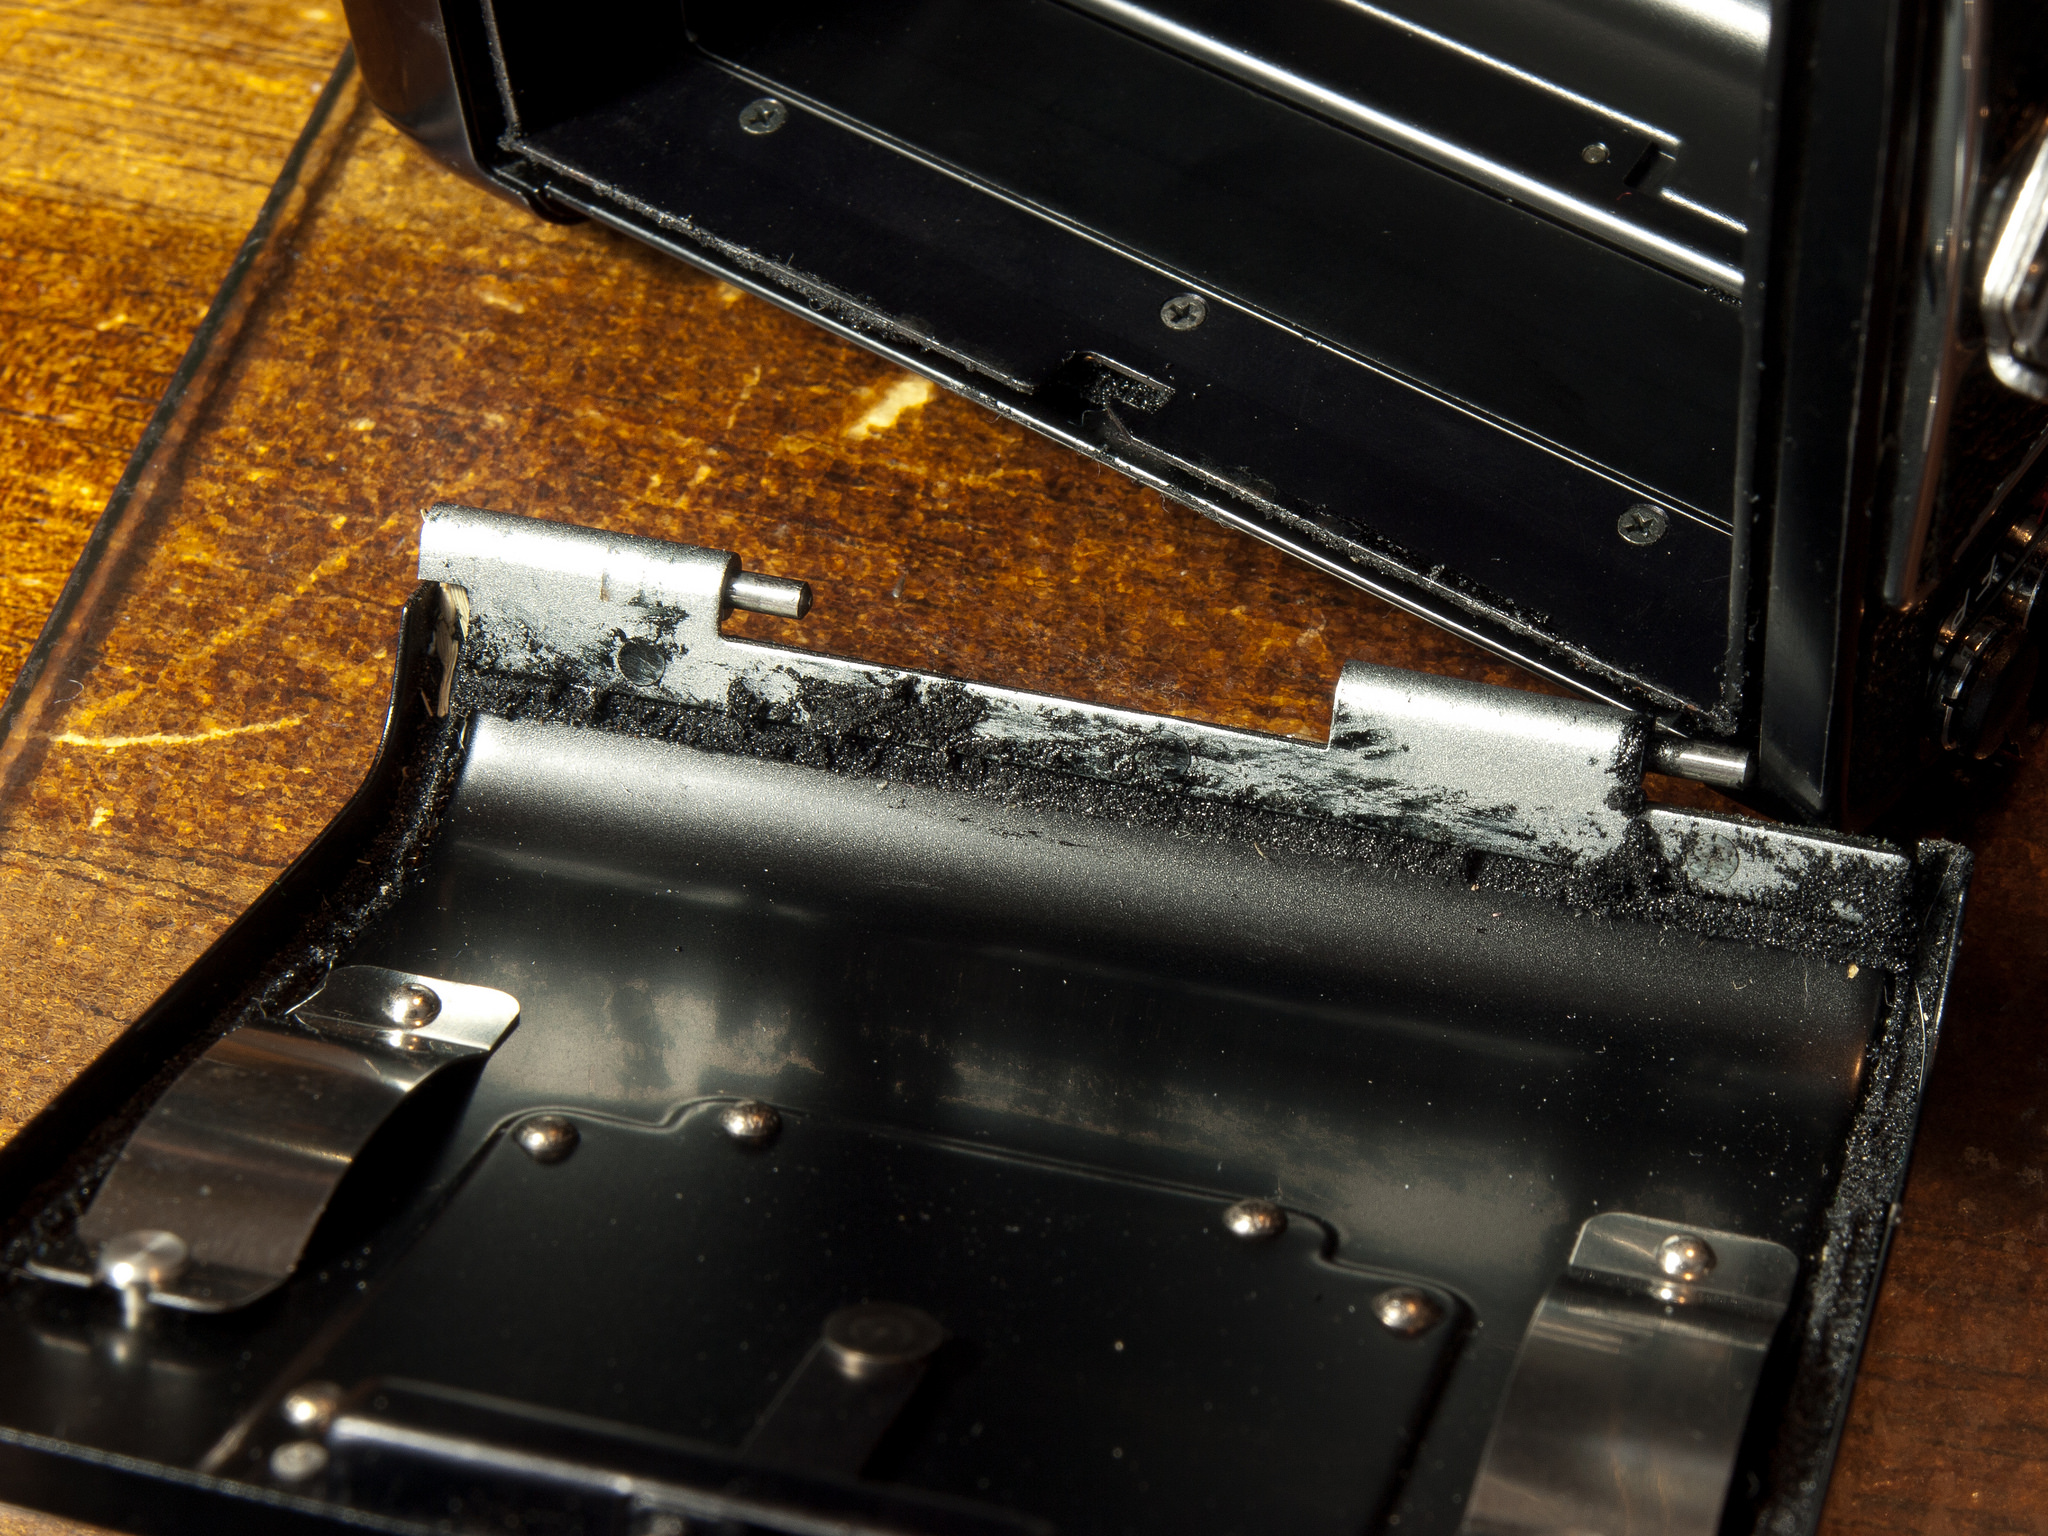
Old Door Seal – Photo 2
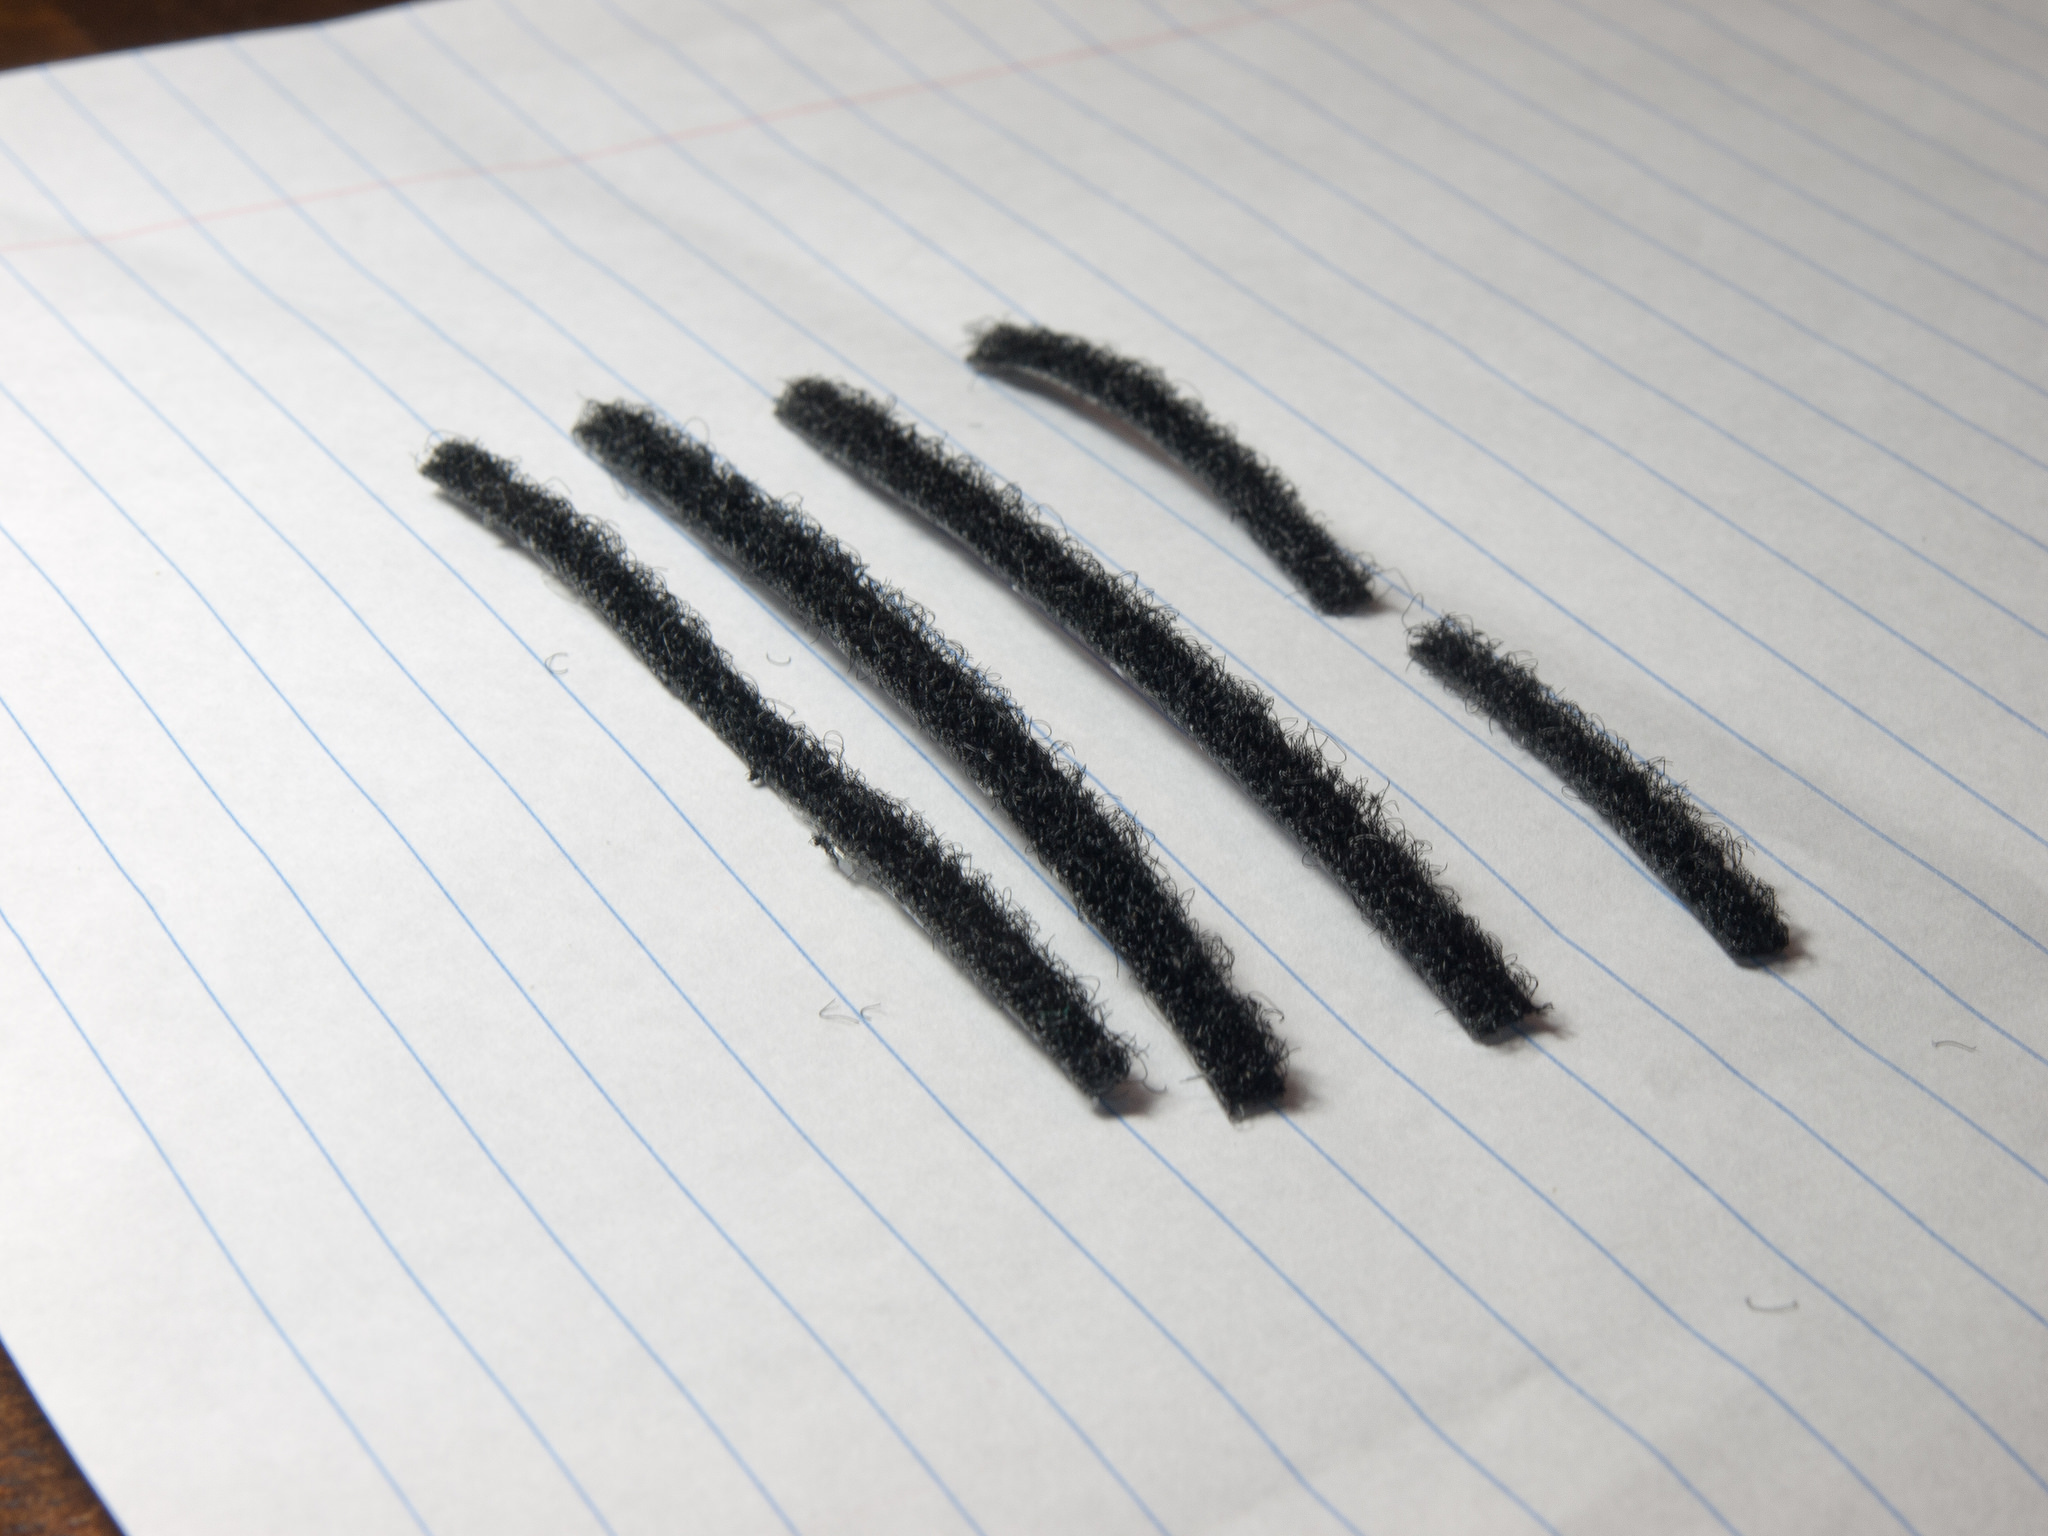
I measured the widths and lengths I would need and prepared the strips for installation.
Door Replacement Seals
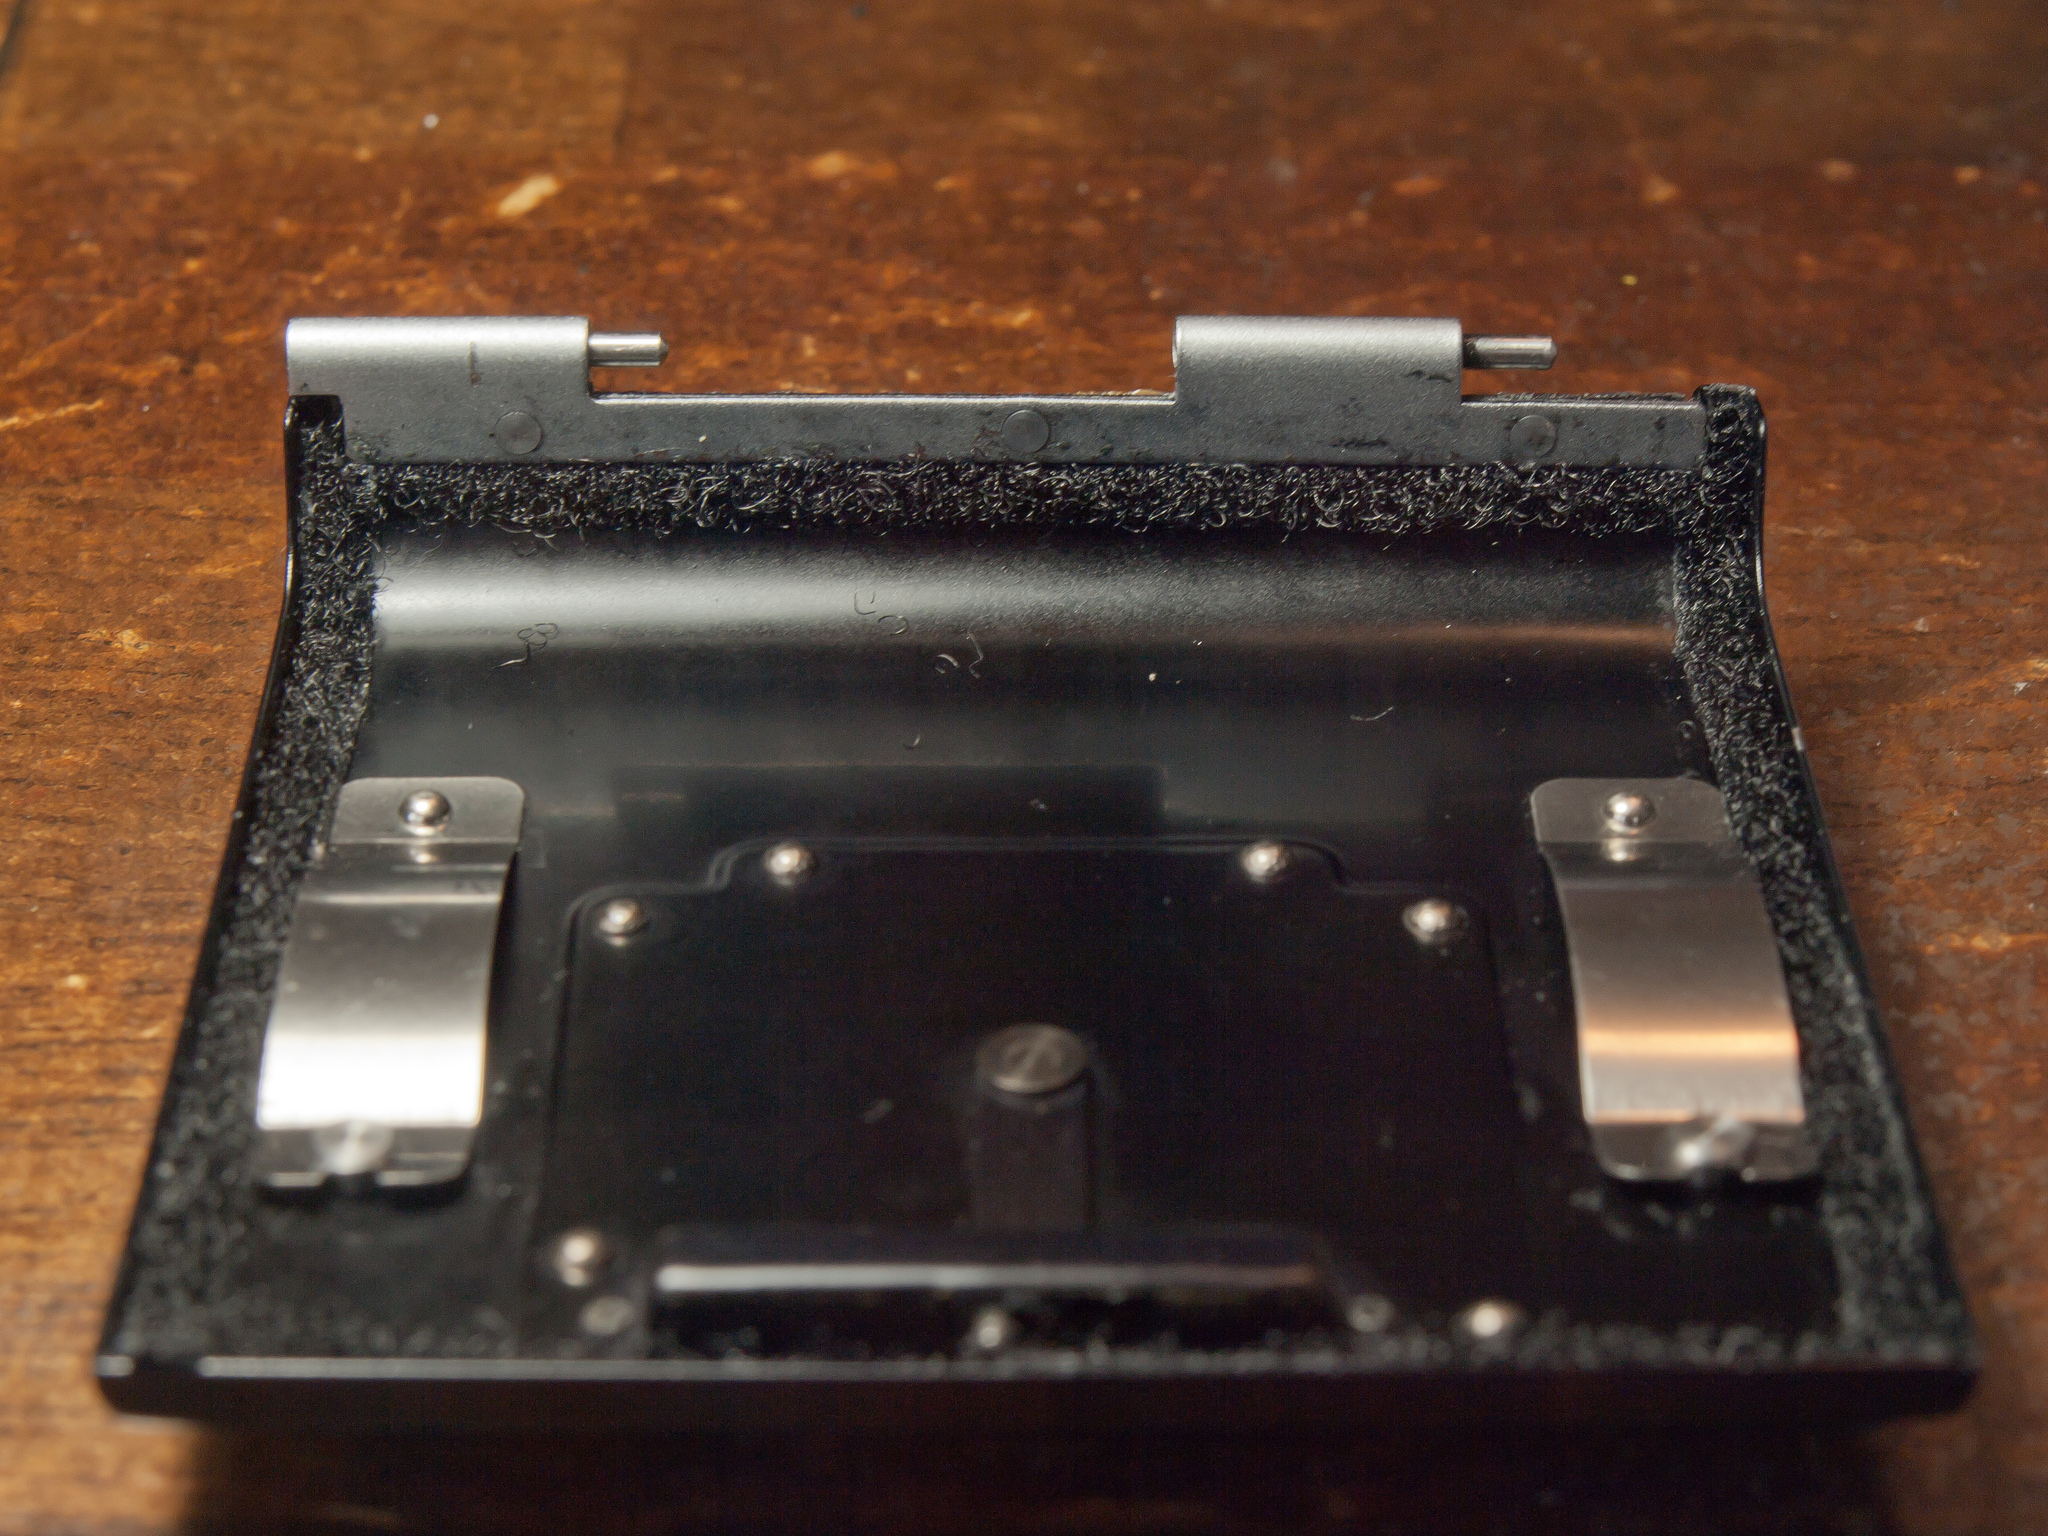
I had to trim and re-cut a couple of the strips to make them fit better.
New Door Seal Installed – Photo 1
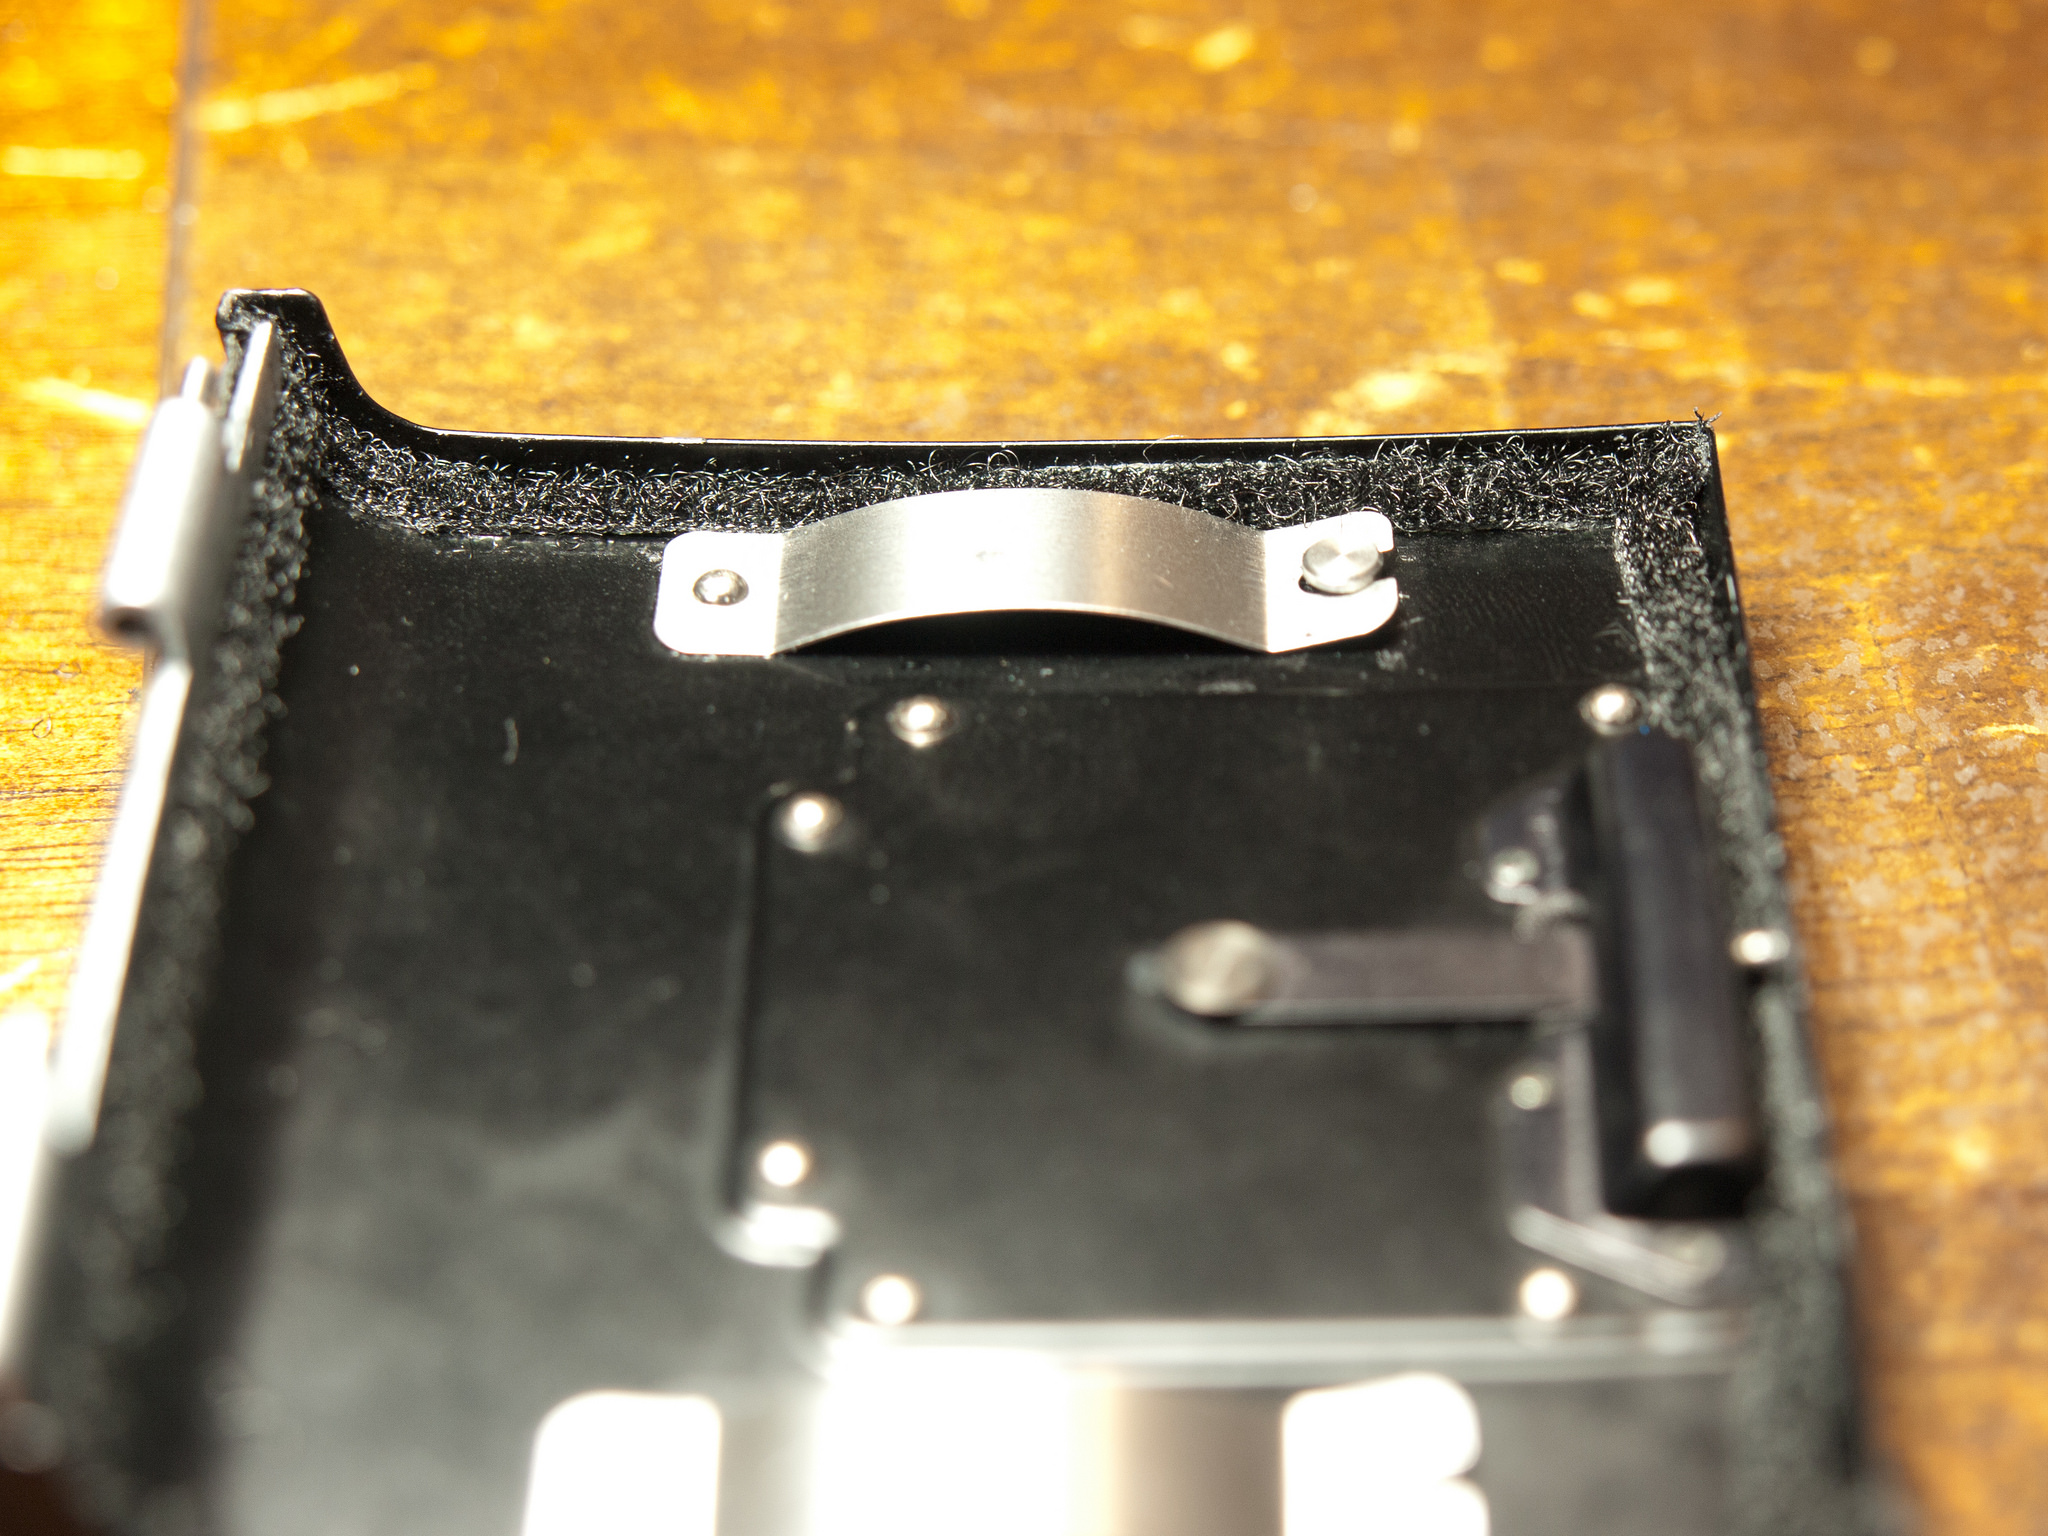
New Door Seal Installed – Photo 2
I repeated the same steps for the camera body. The camera body was a bit harder to do. The tolerances were smaller and I had to work around the door latch and door release lever.
Camera Body Old Seal – Photo 1
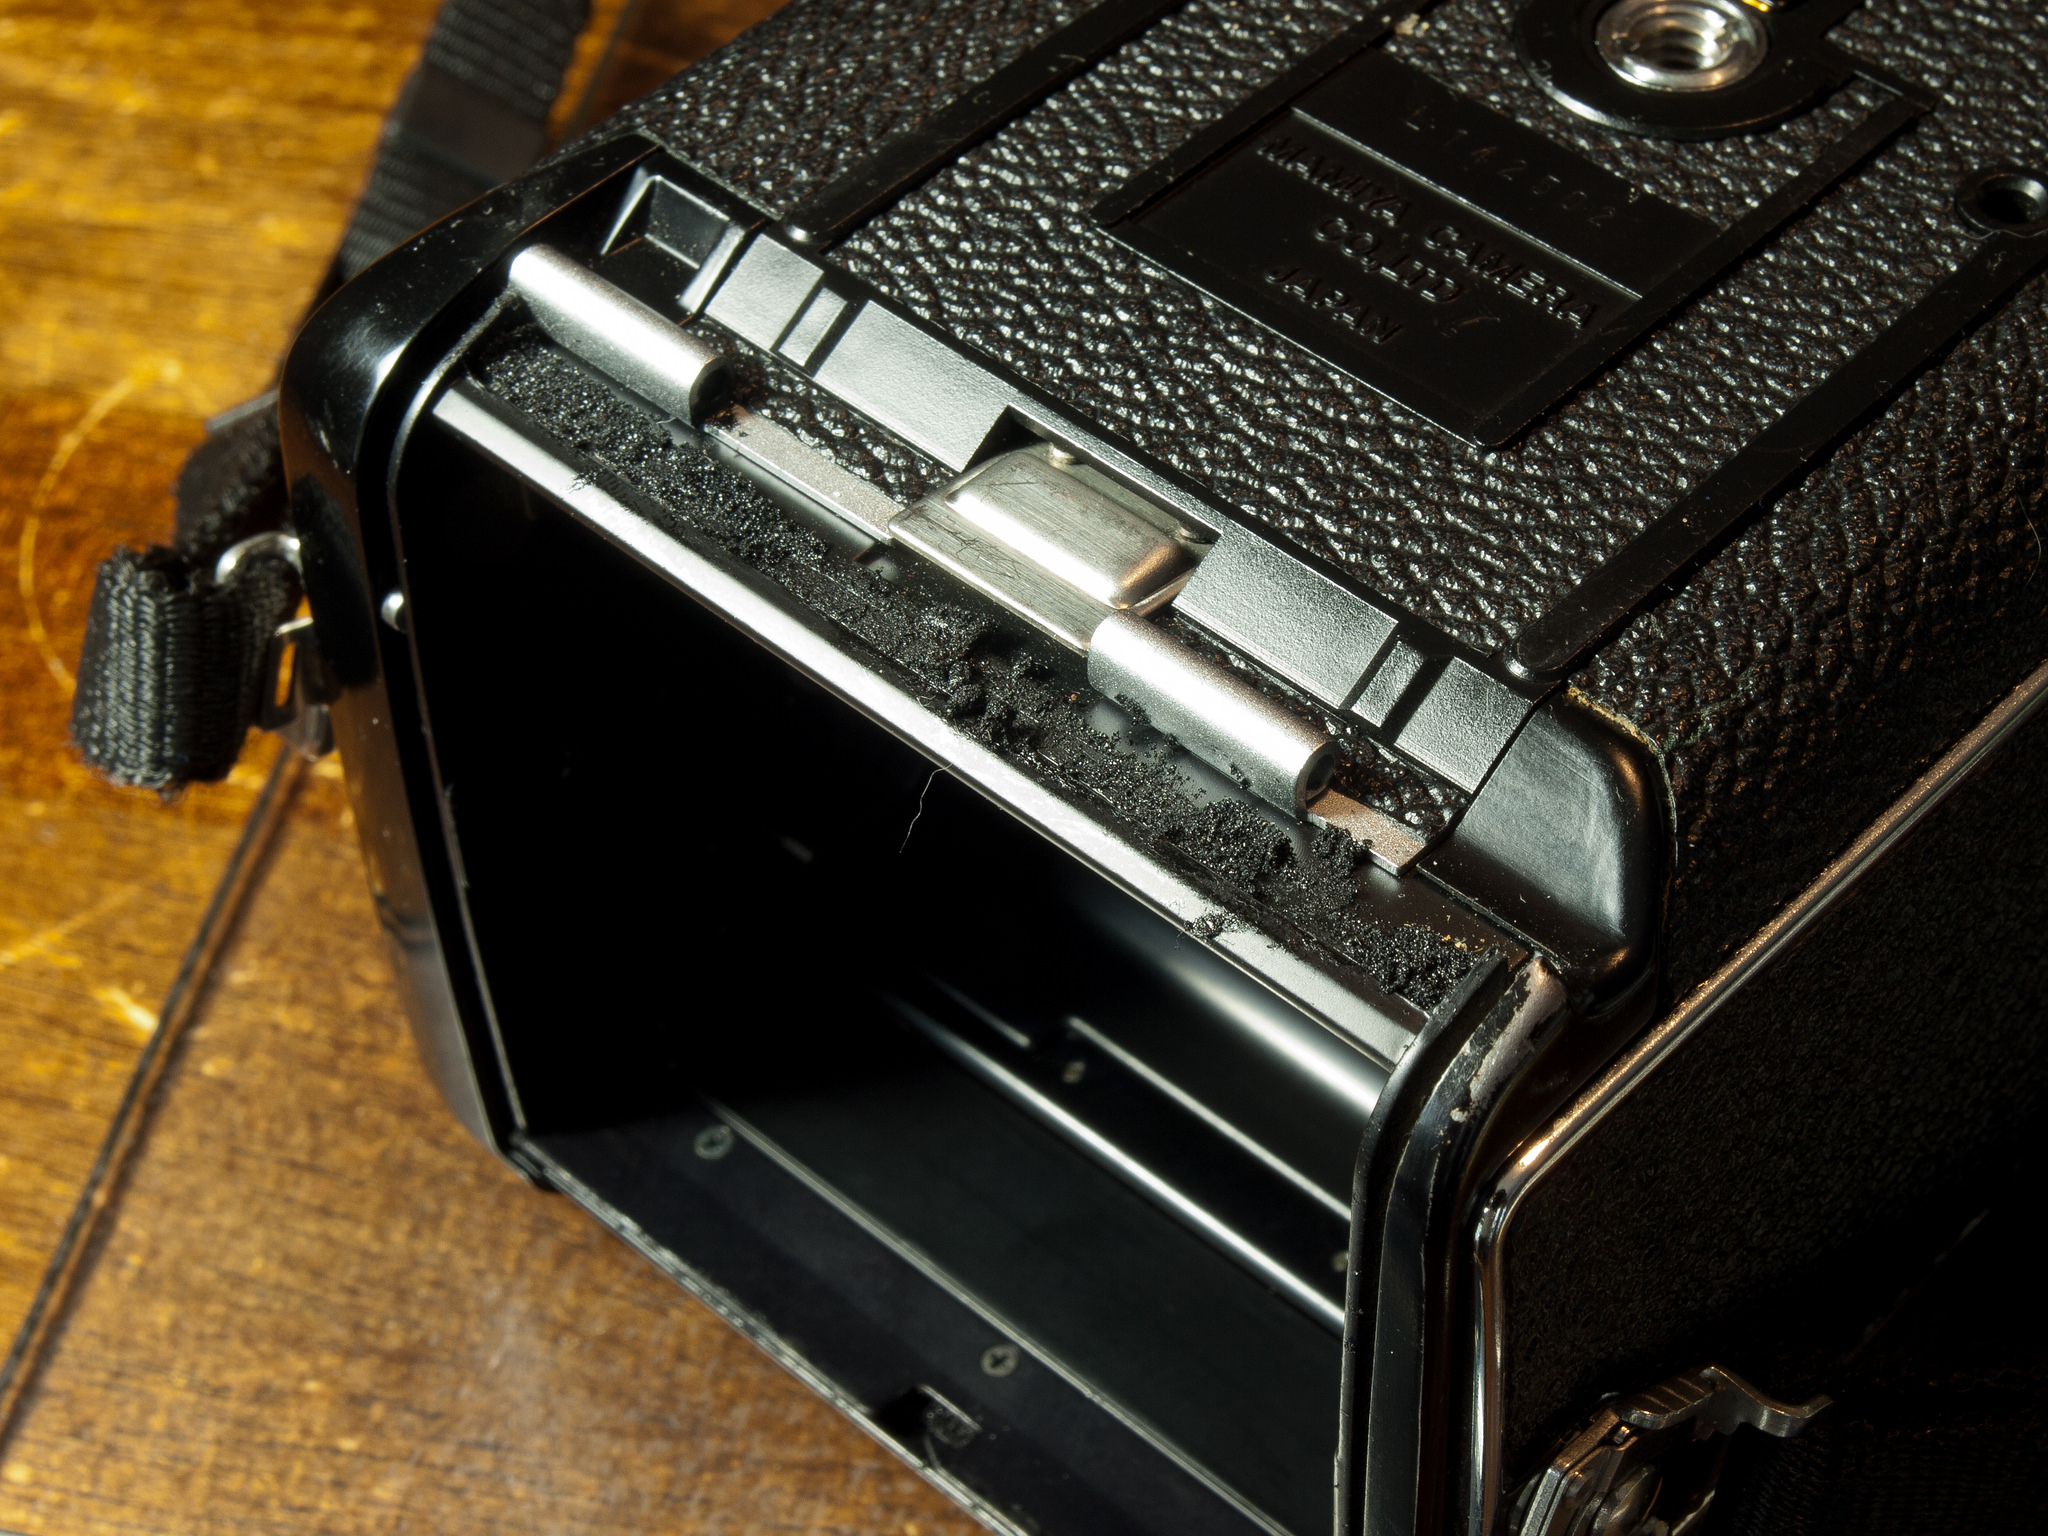
Camera Body Old Seal – Photo 2
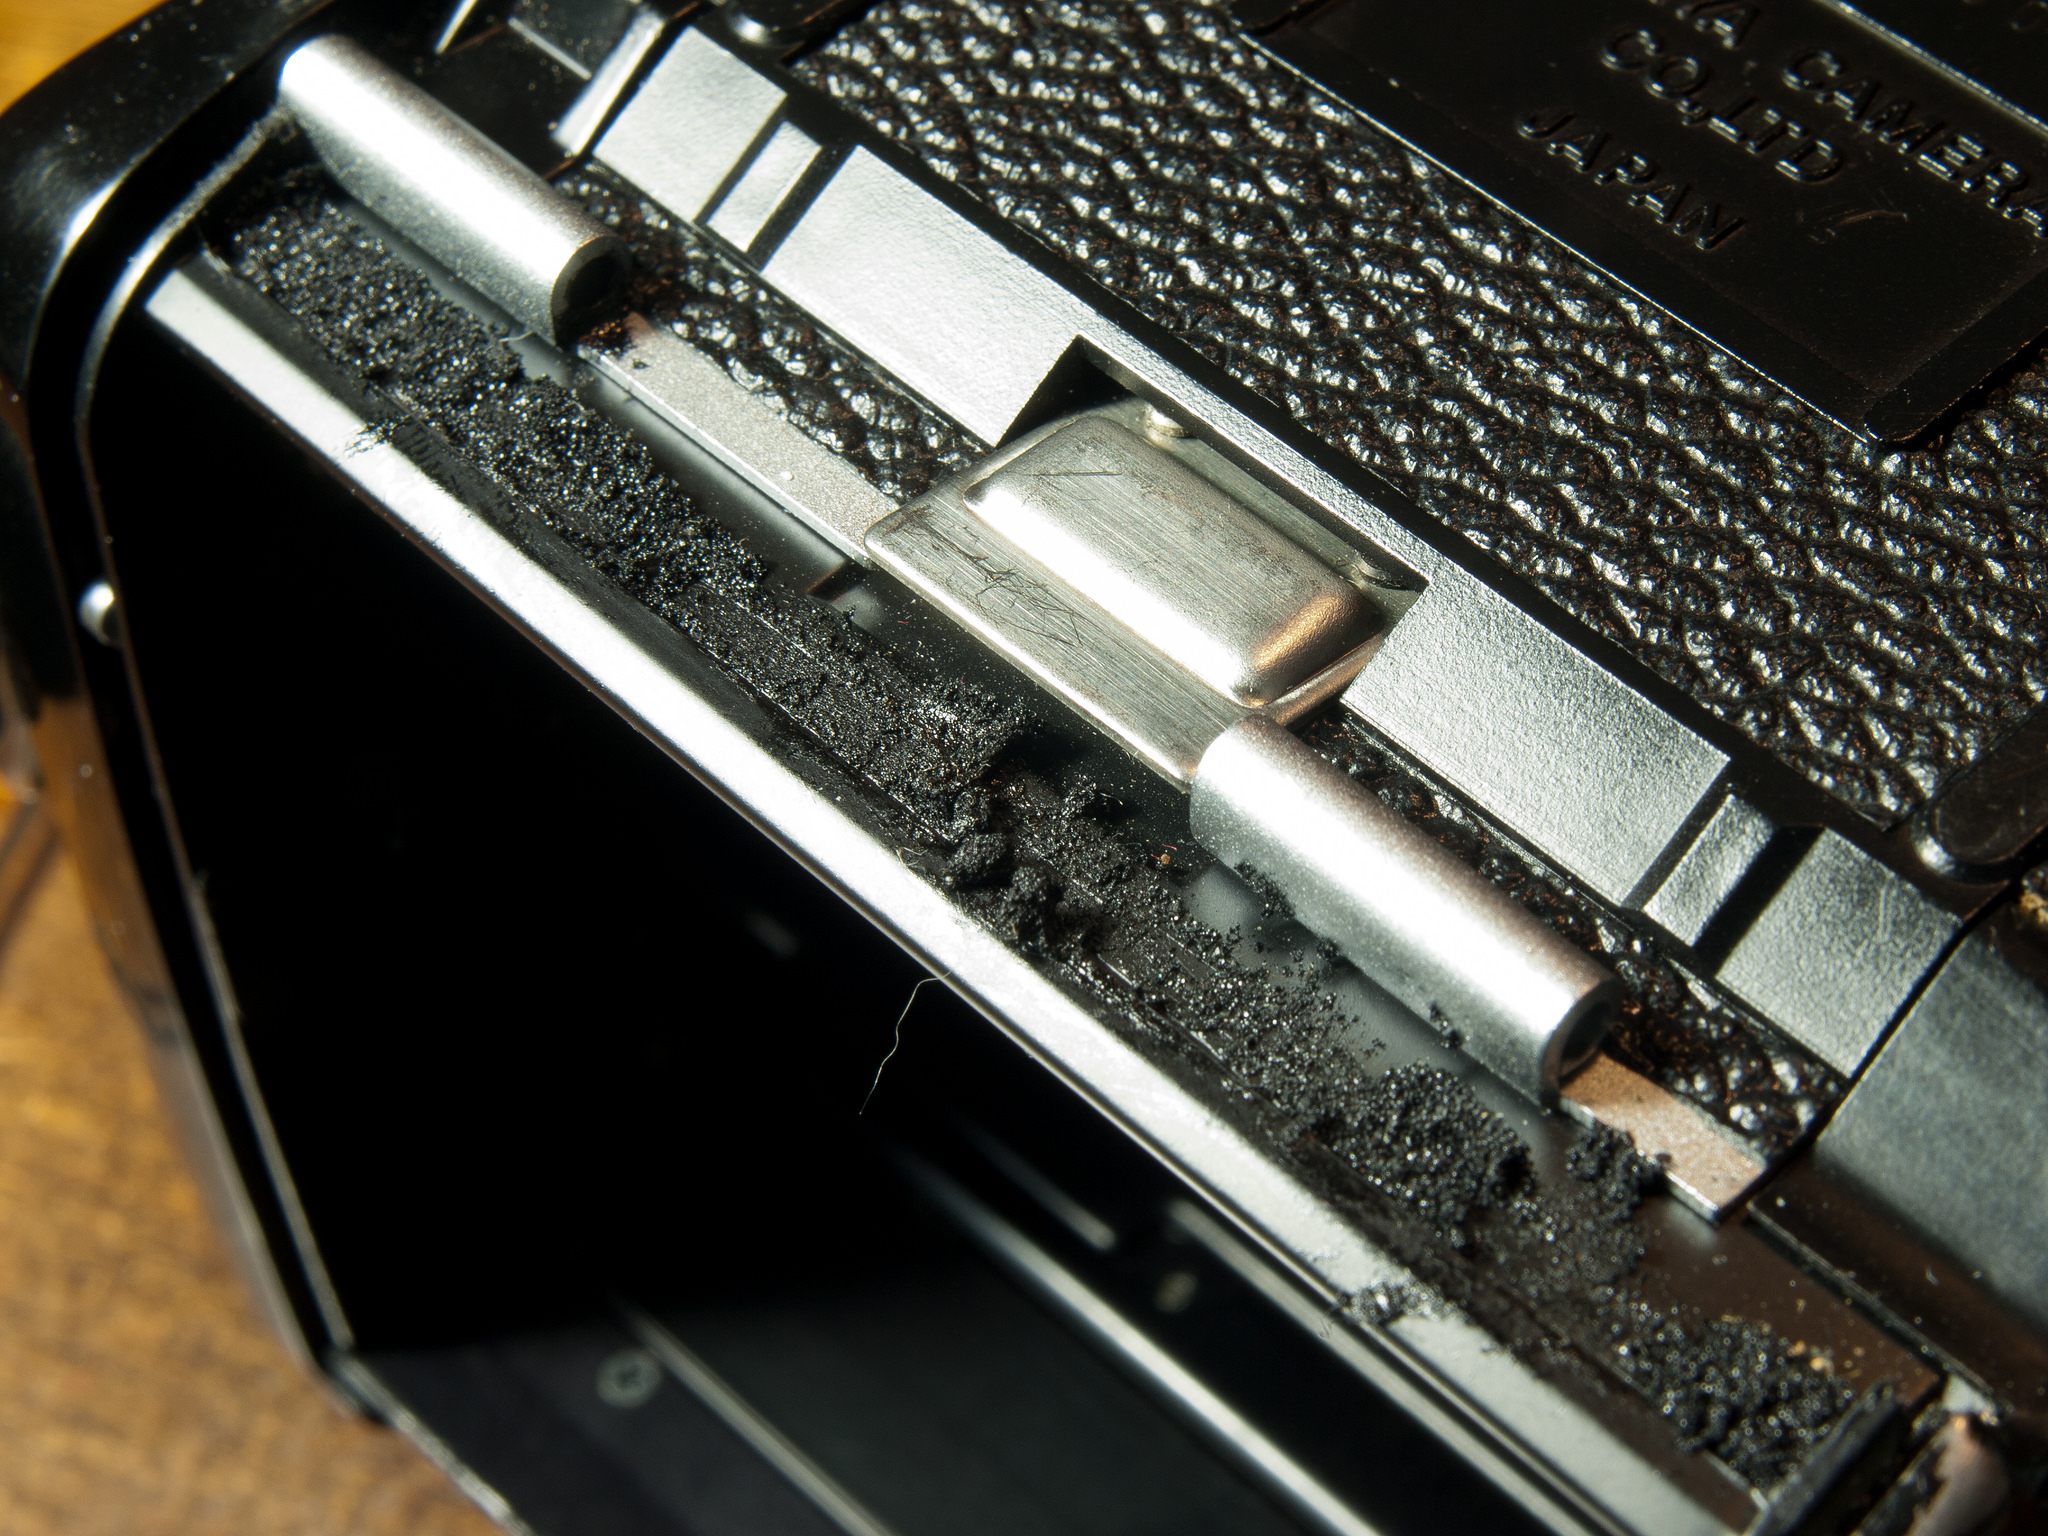
Door Seals & Camera Body Seals Complete
The Aftermath
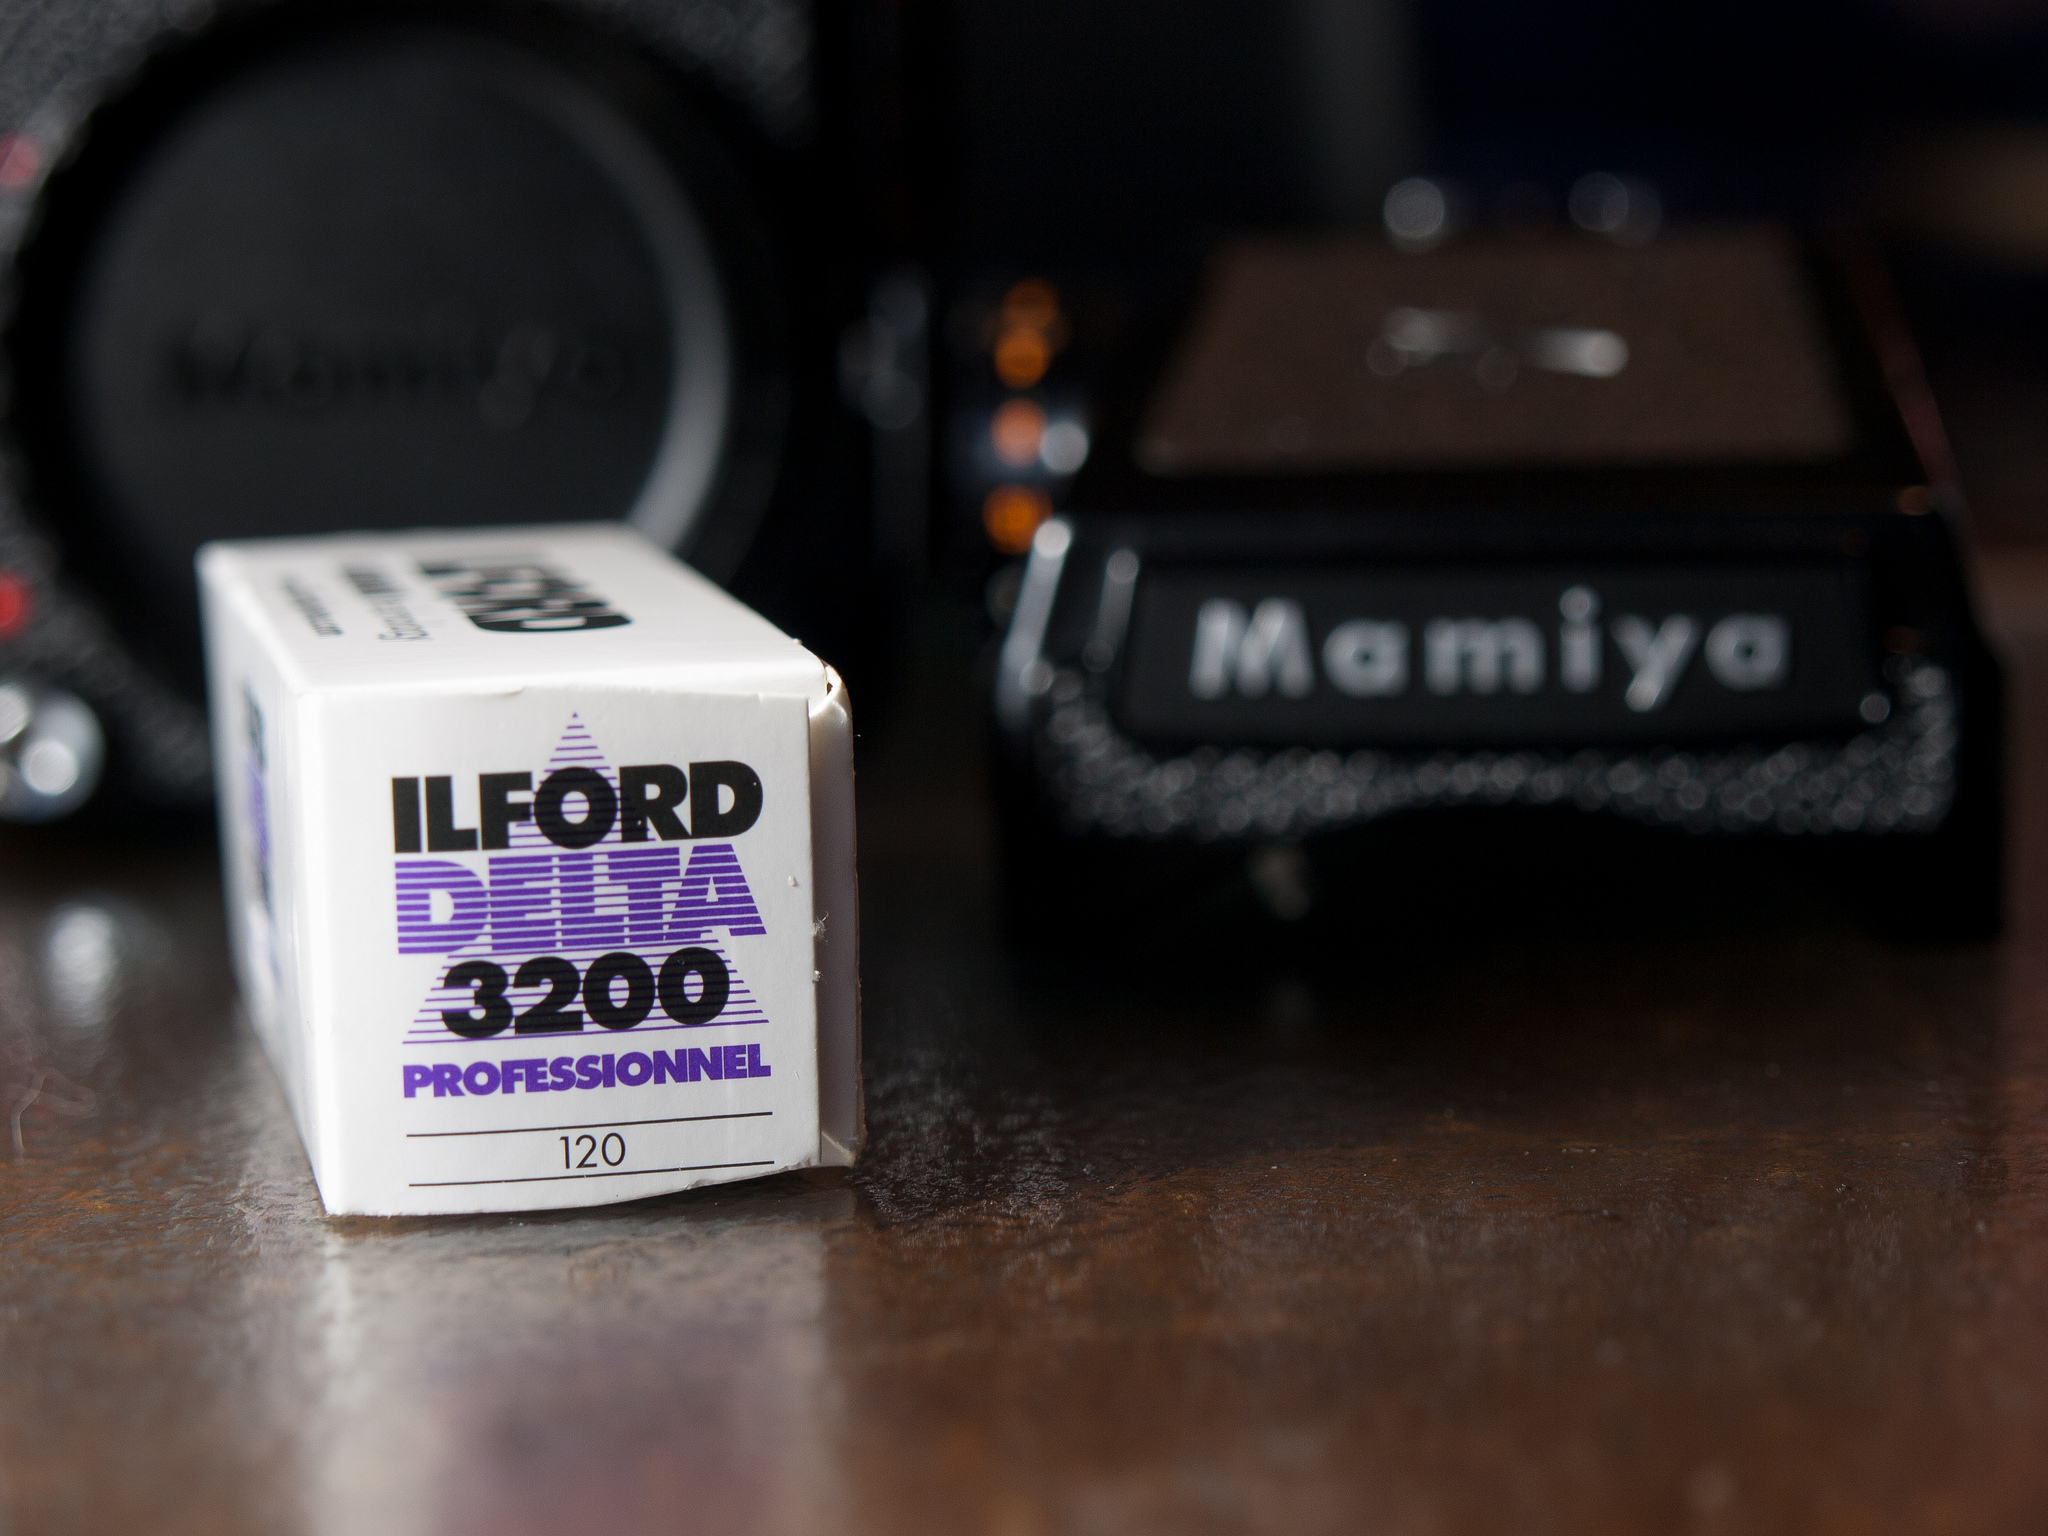
Only time will tell if these seals will hold up or even if this solved my problem. I will admit that the adhesive was not as tacky as I would have liked. Maybe the constant pressure of the door being closed will help seat the new seals. That is one thing I did like. The door takes more pressure to close now. This resistance tells me I should be getting a good seal. My first test roll after this operation is going to be a roll of Ilford Delta 3200. I’ve been wanting to try a high speed film for low light and night work. I plan to shoot some urban scenes at night around Nashville. I also need to shoot a few daylight shots to see if my seals are working. The leak will be more prone to happen in the day versus the night. I look forward to the documentary look that this black and white film renders. Stay tuned to see if this operation was a success.
First Roll of Film after Operation
UPDATE: CLICK ON THE LINK IN THE RESPONSES BELOW TITLED “FIRST LIGHT AFTER LIGHT SEAL REPLACEMENT” TO SEE MY FIRST ROLL OF FILM AFTER THE OPERATION.

8 Responses
Have you finished your roll yet? I’m curious to know if the Velcro works. One of my all time favorite films is Delta 3200. It was one of the first films I used and just fell in love with the grain. Can’t wait to see what you come up with.
I had a change of plans. Instead of loading the Delta 3200, I decided to load some Ektar 100. I was going to shoot some night scenes with the Delta, but figured a better test for the new light seals would be to shoot during the day. I’m hoping to hear from the lab any day now to let me know if they detected any light leaks during the developing stage. I don’t expect to have my scans until next week. If the lab says the negatives look ok, I will then load the Delta 3200. I have become a fan of Delta 100 and I am really curious to find out how 3200 will hold up under low light and night conditions. I believe shooting medium format will help things a bit. Also I am thinking about trying some Delta 400 in 35mm. I love Trix400, but prefer it in medium format. When I am on the streets it is much easier to carry around my Olympus OM1 vs the Mamiya. Thus, I want to try Delta 400 because I believe the grain structure is finer. Do you have any experience with Delta 400? Thanks for stopping by my site!!
Off the top of my head I can’t remember shooting with Delta 400, but it definitely should have finer grain. One of the main reasons I fell in love with the 3200 is the massive amount of grain I could get with it.
I will find out soon about the grain. I just loaded some Delta 3200 in my Mamiya. I am on 8 of 15 shots. I’ve taken a couple of low light shots in the house and last night I went out in the rain to do some urban exploration. I hope I metered correctly. This will be my first time shooting film at night. Speaking of grain, did you shoot 35mm or Medium Format when you shot Delta 3200? Also what ASA or ISO setting did you metered your light? Ilford says that Delta 3200 is actually rated at 1000 ISO, but can be shot from 1000 to 6400 ISO with good results. I am shooting my first roll of Delta 3200 at 1600 ISO.
[…] some research, I decided to make some new seals and install them myself. I documented the steps here. In that post, I said that I was going to shoot some Ilford Delta 3200 for my first roll after the […]
[…] The pictures in this post are a continuation of my first roll of film after my light seal replacement. You can read about my repair here. […]
[…] seal transplant to properly repair the leak. You can read about the operation and see pictures here. Luckily the operation was a success. I have since shot a few rolls with no light leak issues. I […]
[…] table for a light seal replacement. I documented the seal replacement in my blog post titled “Operation.” You can read more about this image and see more images for this roll of film at Shuttering […]